In this guide, we will walk you through the steps included in taking a full backup of your website using cPanel Backup.
Quick Steps:
- Login to the cPanel interface
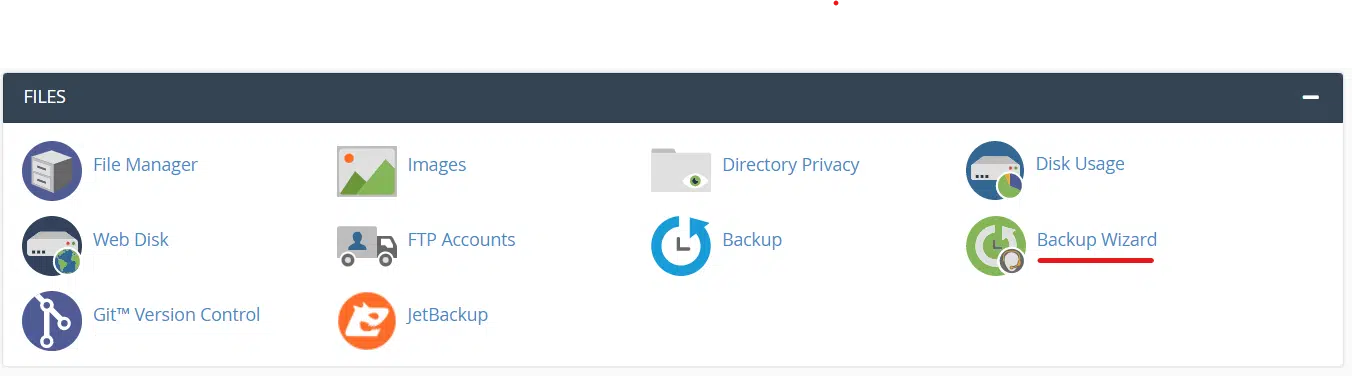
- Select the Backup Wizard from the FILES section
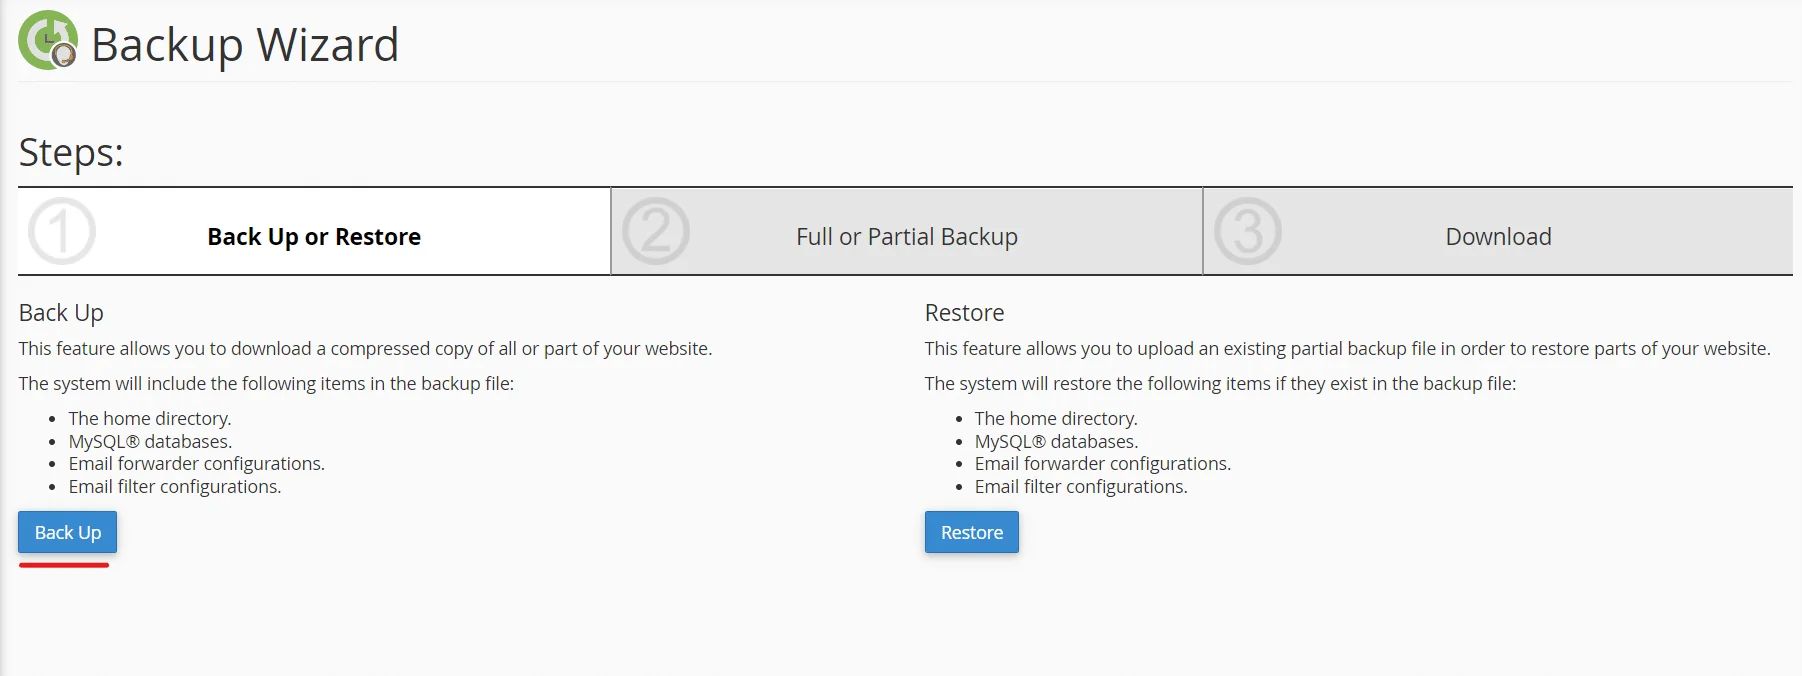
- Click the button Backup.
- Select Full Backup from the second page
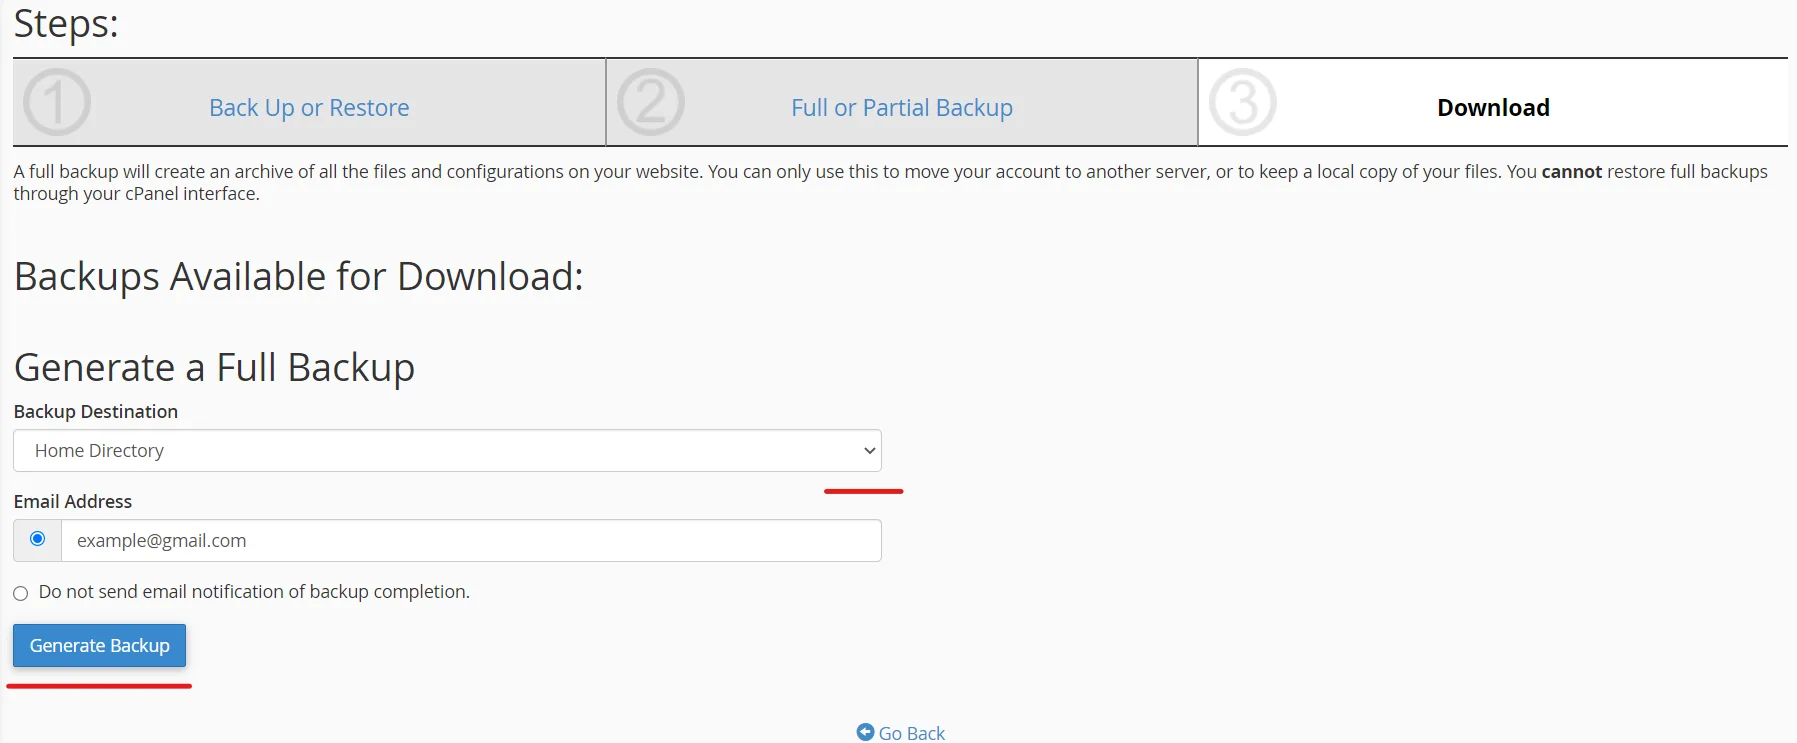
- Select the destination for the backup files
- Click on Generate Backup
Let us see how can we make a full backup of your website from your cPanel interface
After logging in to your cPanel interface, select the Backup Wizard tool from the FILES section of your cPanel account and click the button Backup.
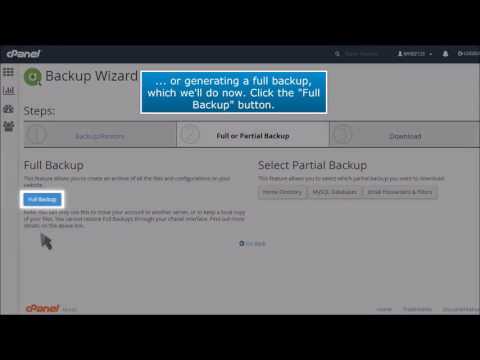
On the next page, select Full Backup and select the destination for the backup files.

You will have 3 options here,
You can store the files in your home directory on your web server by selecting Home Directory from the pull-down menu. cPanel can also utilize FTP or SCP to store the files to a remote machine. To do this, fill in the appropriate information and select the method for file transfer from the pull-down menu.
If you wish to download the file to your computer, follow the steps below:
- Click Generate Backup to download a copy of the backup file to your computer.
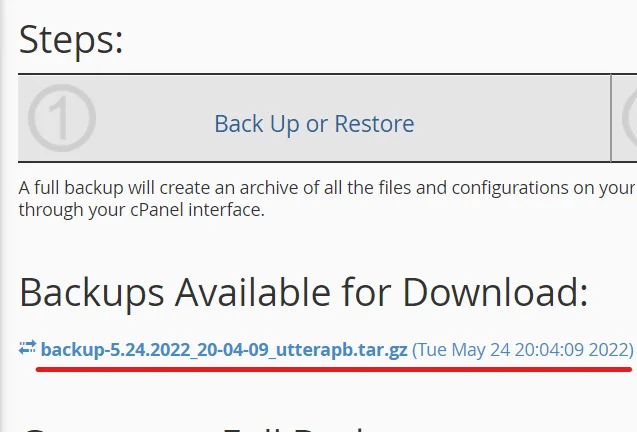
- Click the filename under Backups Available for Download.
If FTP or SCP was used, an email will be sent to the email address that you specified at the beginning of the process.
The date the backup was created appears in the filename which begins with: backup-MM-DD-YYYY The file will be stored as a “tar ball,” or compressed data file, with the filename extension: .tar.gz.
You can follow the below steps to restore files from a backup:
- Click the Backup Wizard again.
- Click the Restore button.
- Select the type of restore you want and restore accordingly.
Available restore options are:- Home Directory.
- MySQL Databases
- Email Forwarders and Filters
NOTE: Please be sure to review our storage restrictions on backups & specific file types on your hosting account. https://www.veerotech.net/kb/backup-storage-restriction-information/
Conclusion
Congratulations, you have now learned the steps to create a backup and steps to restore a backup in your cPanel interface
If you have any web hosting questions please feel free to reach out to us. We're happy to help.
Our Guiding Principles