This guide will show you how to configure a temporary URL in WordPress.
Quick Steps:
- Login to your cPanel account and open File Manager.
- Therein, in the root folder of WordPress, locate the wp-config.php file.
- In the wp-config.php file, locate the lines that specify WP_HOME and WP_SITEURL and
make the below changes:- Define(‘WP_HOME’,’http://IPADDRESS/~username’);
- Define(‘WP_SITEURL’,’http://IPADDRESS/~username’);
- Now you can access the site using http://IPADDRESS/~username
If migrating or transferring your WordPress website from one host to another, you should ensure everything is in order before you change your domain’s nameservers. For example, if leaving your current host and your site has been migrated to VeeroTech, you can view your website using a temporary URL in order to double-check that everything is perfectly the same — and then make the changes to your domain nameservers.
This post will explain how to configure and access WordPress using a temporary URL.
Where to Find a Temporary URL?
In your hosting account information email (the one you got when you signed up for your hosting account), you can easily find the temporary URL that you can use to access your site.
Also, if you are on a reseller hosting plan, you can find your temporary URL by looking at the IP address in WHM. generally, it is something that looks like this:
http://IPADDRESS/~yourusername
So, if your IP is 1.234.56.789 and your username is “myname”, your temporary URL would be something like this: http://1.234.56.789/~myname
How to Configure WordPress to Use Temporary URL?
Since WordPress adds your domain name to its database, it will not automatically work with any other URL unless you make manual changes to its configuration.
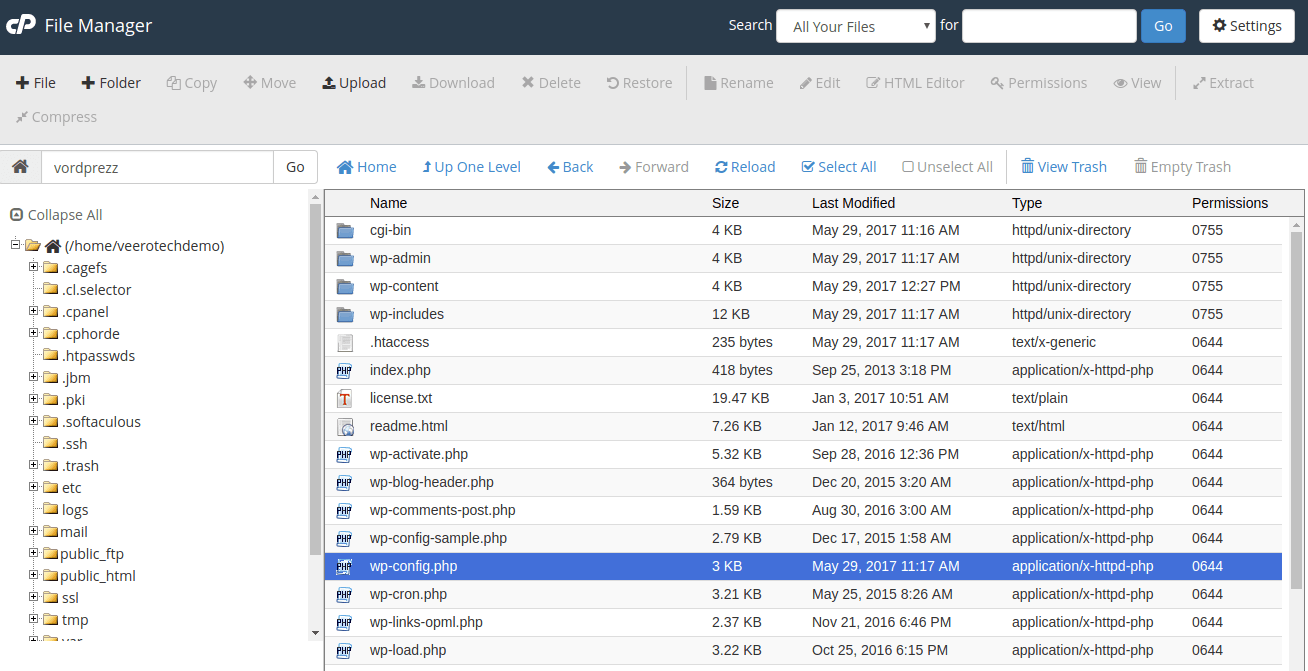
Once your website has been successfully transferred (or WordPress has been successfully installed using Softaculous), login to your cPanel account and open File Manager.

cPanel File Manager
Therein, in the root folder of WordPress, locate the wp-config.php file.
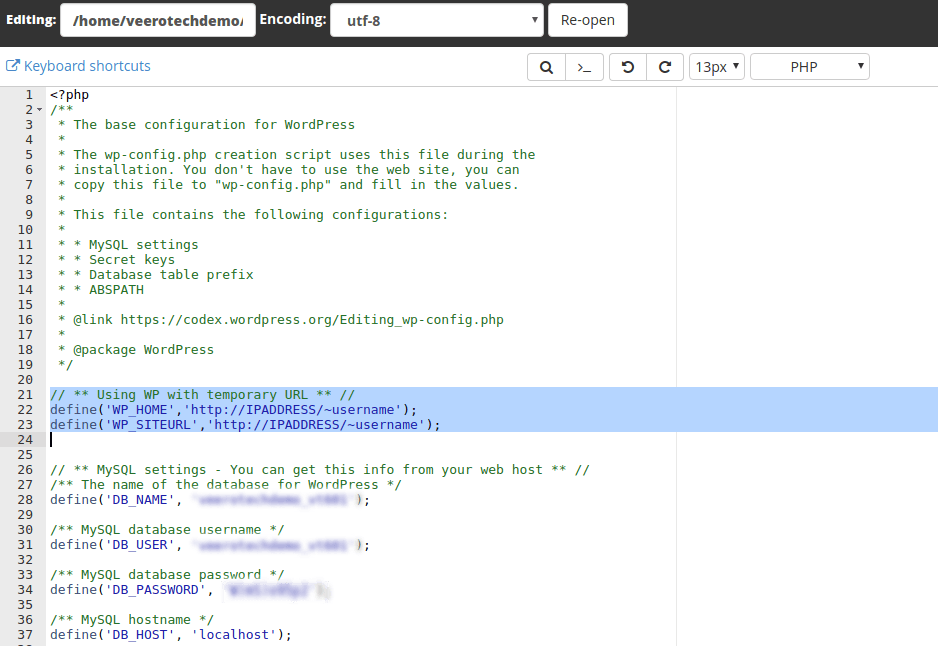
How to Configure WordPress to Use Temporary URL
Right click on it and select Code Edit. In the wp-config.php file, locate the lines that specify WP_HOME and WP_SITEURL — if the lines are not there, you will need to add new ones. Either change the URL to your temporary one in existing lines, or add new lines of code to resemble this (wherein the IPADDRESS is the IP mentioned in your hosting account information email and the username is your cPanel username):
define('WP_HOME','http://IPADDRESS/~username');
define('WP_SITEURL','http://IPADDRESS/~username');
Save your changes by clicking the button in the top right corner.
That is all, your website can now be viewed using the temporary URL. Once you have ensured that your site is the way you want it to be, you can change the wp-config.php file to reflect your actual domain name, and point your domain’s nameservers to VeeroTech.
If you have any web hosting questions please feel free to reach out to us. We're happy to help.
Our Guiding Principles