In this article, we will show you how to rename a database using phpMyAdmin.
A free and open-source program for managing MySQL databases is called phpMyAdmin. It is one of the most widely used web-based MySQL management tools for hosting companies. Users can communicate with their MySQL databases using phpMyAdmin, which is written in PHP.
Quick Steps
Step 1: Go to cPanel > Databases > phpMyAdmin
Step 2: Select the database you wish to rename from the left-hand column.
Step 3: Click on the Operations tab.
Step 4: Under the field “Rename database to:” enter the new database name.
Step 5: Click the Go button.
Step 6: Click OK to proceed.
Step 7: Once the operation is complete, click OK when asked if you want to reload the database.
Note: Keep in mind that when you change the name of a database, you will have to reconfigure user permissions to continue referencing this database.
Renaming the Database
Go to cPanel > Databases and click on phpMyAdmin.

Renaming the Database
phpMyAdmin will open up in a new tab. Select the database you wish to rename from the left-hand column and then click on Operations.
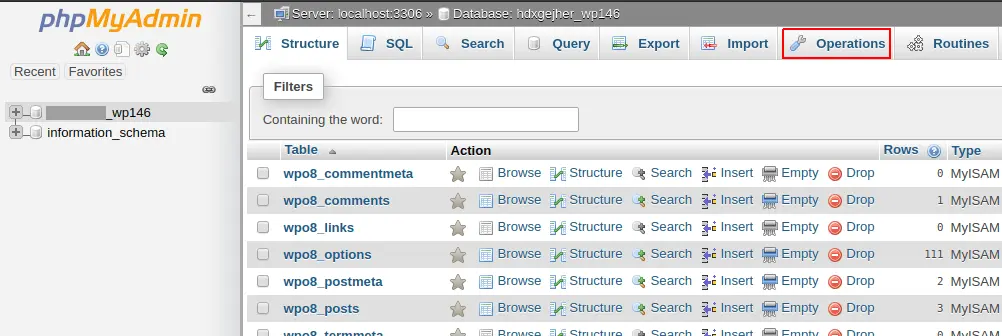
phpMyAdmin Operations
Select a database in phpMyAdmin.
Enter the new database name in the field “Rename database to:” and click Go.

Renaming the database
Renaming the database.
Click OK to proceed when it asks if you want to create the new database and drop the old database.
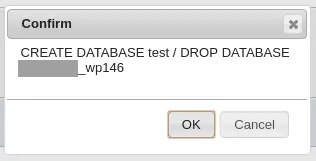
Rename the database in phpMyAdmin.
That’s it! The database has been renamed to “test” as shown below,
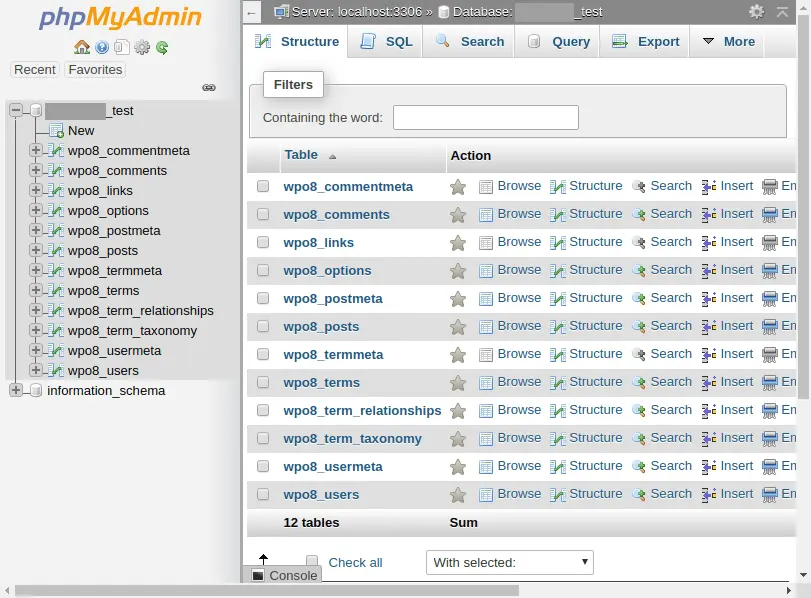
PHPMyAdmin Structure
Databases list in phpMyAdmin.
Re-configuring User Permissions.
The user permissions will need to be updated because the database has been given a new name. Click on MySQL Databases on the main cPanel screen.
The Add User To Database part can be found by scrolling down the page. Choose the renamed database and the database user who was formerly linked to this database from the list. Next, select the Add button.
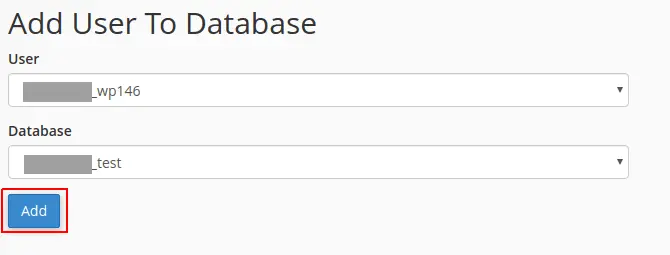
Add User to Database
Reconfigure permissions for the database user in cPanel.
On the Manage User Privileges page, check the box next to All Privileges and click on the Make Changes button.
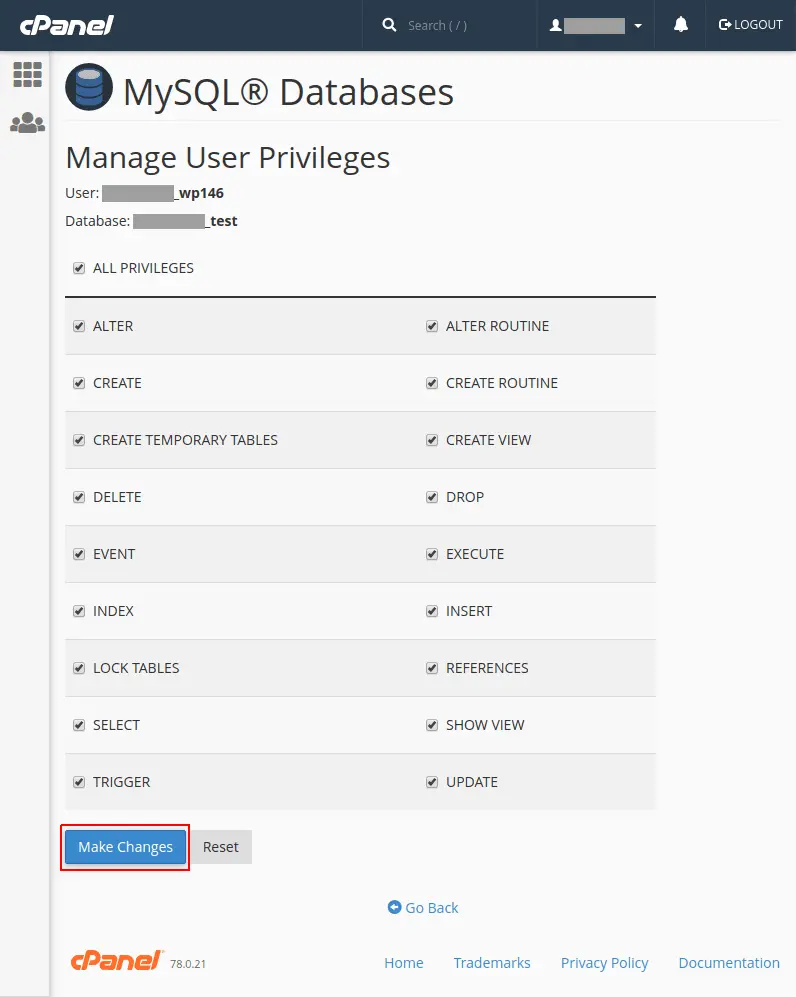
Manage User Privileges
Conclusion
The database should now have a new name. You may also need to update all the scripts or applications to continue accessing the renamed database.
If you have any web hosting questions please feel free to reach out to us. We're happy to help.
Our Guiding Principles