By default, WordPress is not configured to use an SSL Certificate. In this guide, we’ll show you how to install an SSL Certificate and configure your WordPress website to always use HTTPS.
First, you’ll want to get an SSL Certificate installed. If you’re hosting with us, you have two options.
- Commercial SSL Certificate: https://www.veerotech.net/hosting-extras#ssl-certificates
- Let’s Encrypt SSL Certificate: https://www.veerotech.net/kb/install-ssl-certificate-using-lets-encrypt-inside-cpanel/
If you decide on purchasing a commercial SSL Certificate through our website, you can also use the following guide on the installation process: https://www.veerotech.net/kb/installing-your-ssl-certificate-using-the-autoinstall-ssl-cpanel-feature/
After you’ve chosen the type of SSL Certificate you’d like to use, you’ll need to do some configuration within WordPress. There’s two steps to configuring WordPress to use HTTPS.
For the first step, you’ll need to log into cPanel and go to the File Manager as shown in the image below.
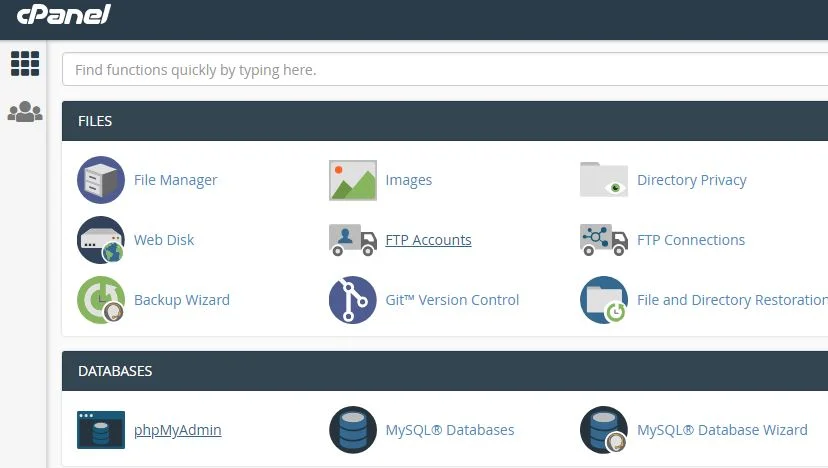
cpanel-file-manager
After you’ve gotten into the File Manager through cPanel, you’ll want to locate the .htaccess (dot htaccess) file. In the event you do not see this file, please take a look at this guide here to enable hidden files: https://www.veerotech.net/kb/cpanel-file-manager-show-hidden-files-dot-files-htaccess-and-more/
If you still do not see the file, you may need to create it. You can use the “+File” option and create the .htaccess (dot htaccess) file – make sure to include the “.” in the beginning of the file name.
If the file already exists, you can proceed with right clicking the file & clicking Edit as shown below.
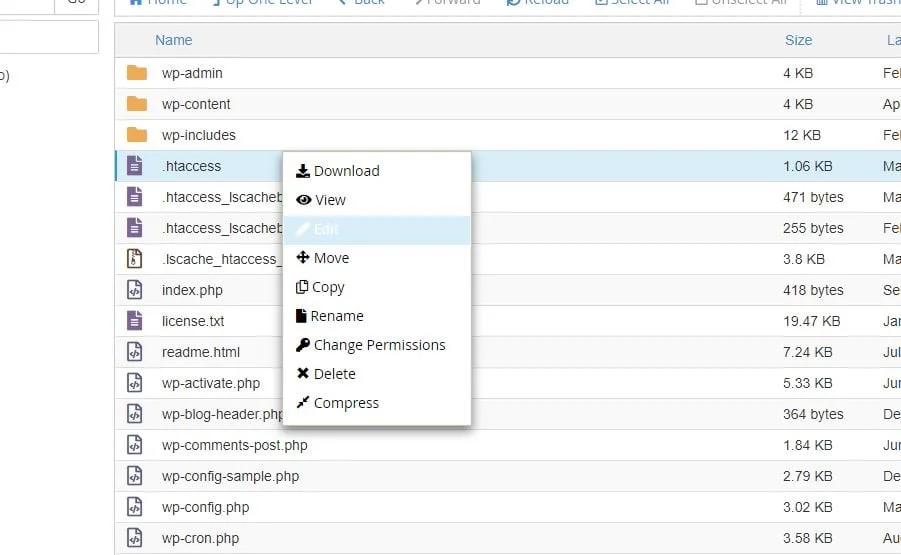
edit-htaccess-file
After you’ve opened the .htaccess (dot htaccess) file in the editor, please enter the code into it that is listed below at the top of the file.
Code to add:
RewriteEngine On
RewriteCond %{HTTPS} !=on
RewriteRule ^(.*)$ https://%{HTTP_HOST}%{REQUEST_URI} [L,R=301]
After you’ve added the new code shown above, you’ll need to click “Save Changes” to save those changes you’ve made to the .htaccess (dot htaccess) file.
Next, you’ll need to log into your WordPress admin dashboard to edit the URL’s under Settings > General as shown below. By default, they will have HTTP only in the URL. You will need to change that to HTTPS as shown below.
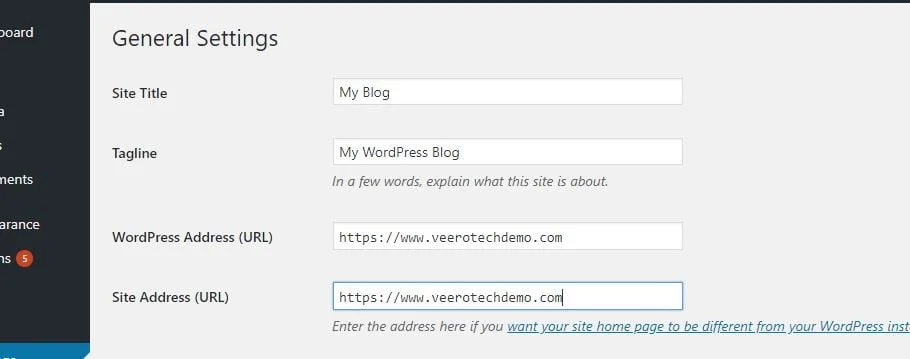
wp-admin-settings-https
After you’ve changed the URL’s shown there to have HTTPS in them, scroll down and click “Save Changes”. That’s it! Your WordPress site should now be working with HTTPS and should always be forced to use HTTPS.
Should you have any problems with this guide & you’re hosted with us, please feel free to reach out to our support desk.
If you have any web hosting questions please feel free to reach out to us. We're happy to help.
Our Guiding Principles