This tutorial will explain how to create a custom error page for your website in cPanel. Your website visitors can see an error page whenever an error has occurred while browsing your site. Apart from the general error pages, with custom error pages you can change the predefined error pages and add a custom message to it.
Quick Steps:
Step 1. Login to cPanel and select Error Pages from Advanced Section.
Step 2. Select the domain.
Step 2. Select the error page from the lists you want to customize.
Step 3. Type the code you want to add in the error pages. You can also select from the buttons at the top of the page.
Login to your cPanel account and select Error Pages from the Advanced Section.
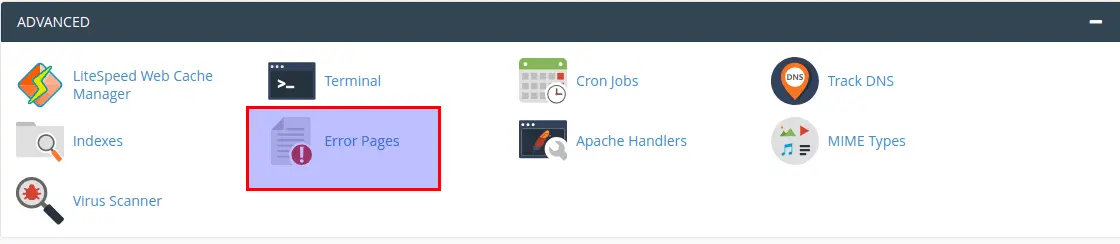
cPanel Advanced Panel: Error Pages
From the new page select the domain where you wish to display the error page. In the next step, from the lists, select the error page which you need to customize.
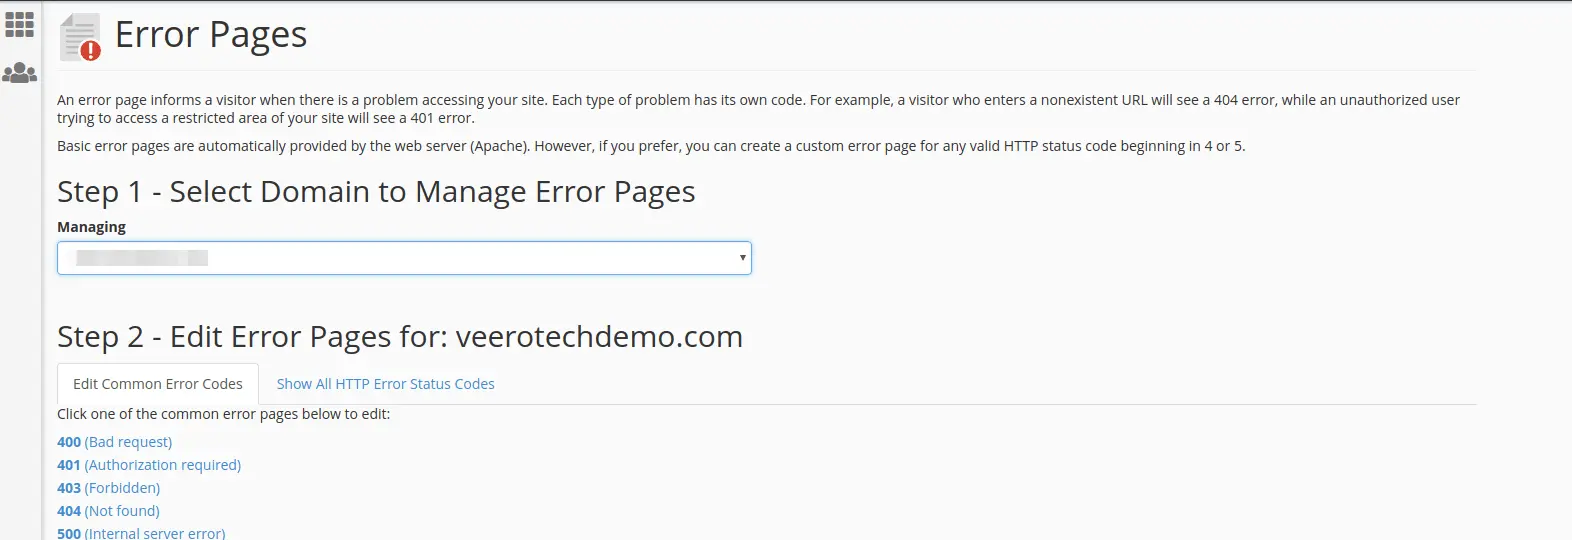
Error Pages in cPanel
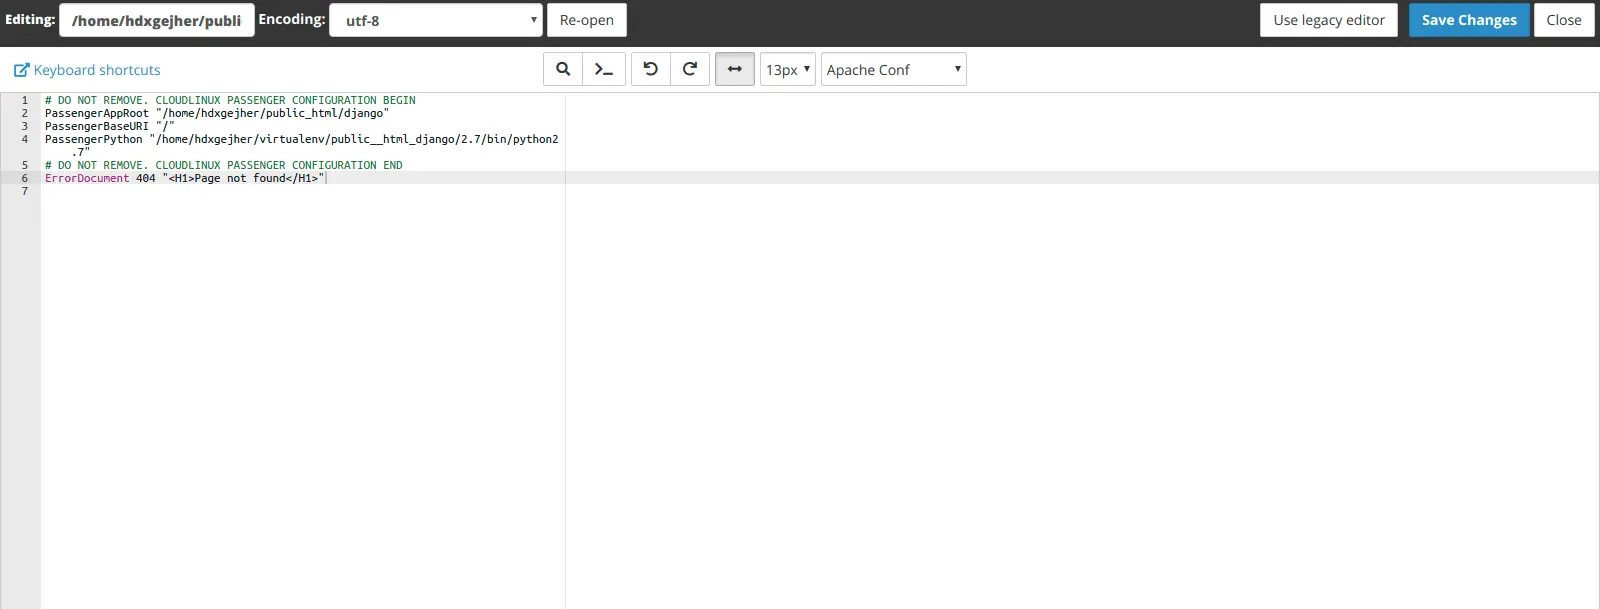
After selecting the error page from the lists, you can add the codes which need to be displayed in the error page. Also, there are buttons at the top of the page from which you can select according to the content you need to add in the error page.
Learn how to set up a custom WordPress 404 error page by following the tutorial How to Create a Custom WordPress 404 Error Page