In this article, we’ll describe how to disable directory listing using .htaccess file.
Directory listing allows all your website visitors to get a complete listing of all the important files and folders in your site simply by typing “http://example.com/yourdir” in the browser. This is very dangerous as it gives outsiders access to the core files in your site. We can be easily prevent this by creating a custom .htaccess file in the root directory of your site.
Quick Steps
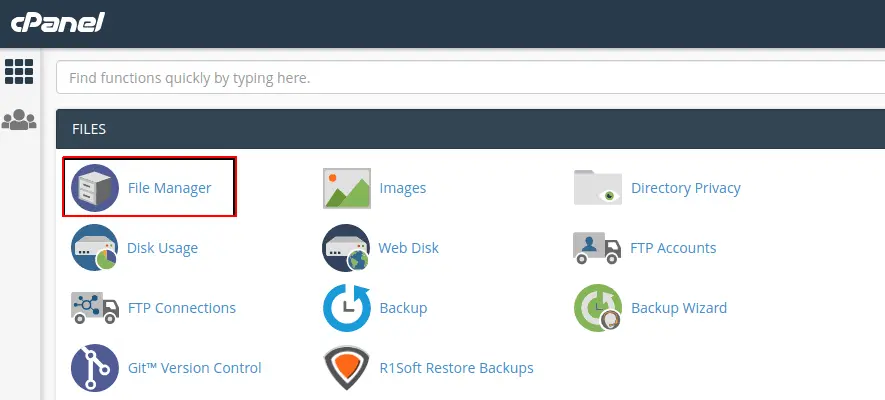
- Go to your cPanel account open File Manger.
- Click on Settings, check the box “Show hidden files” and click Save.
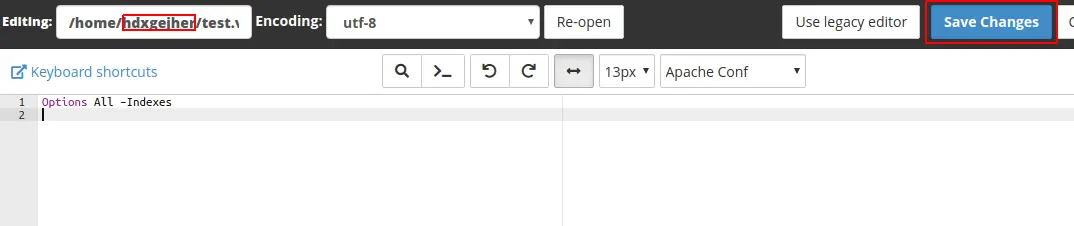
- Open the .htaccess file and add the code “Options All –Indexes”.
- Click on “Save Changes” to save and close the file.
Login into your cPanel account and select File Manager from the Files section.
cPanel landing page.
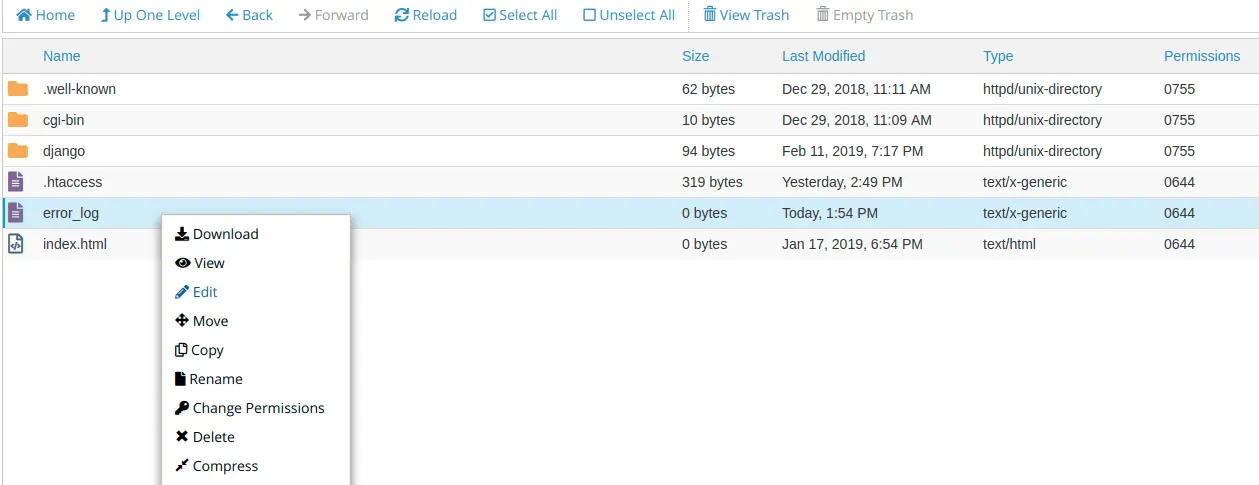
Locate the .htaccess file in the File Manager. The .htaccess file should be located in your public_html directory. If you cant find it, then check if Show Hidden Files is enabled in your File Manager settings:
Creating a new .htaccess file.
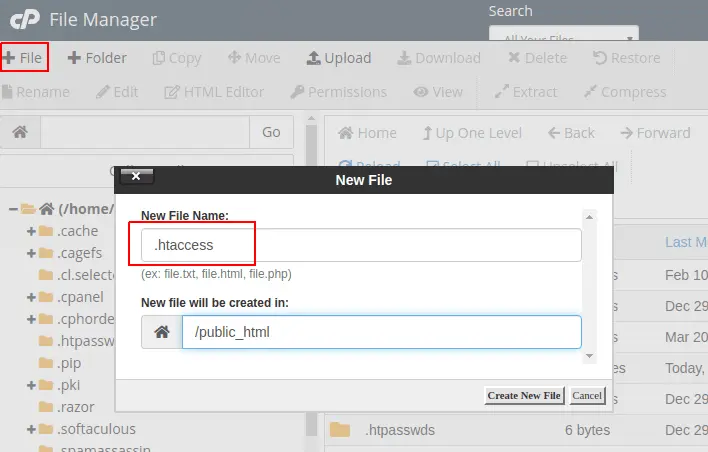
If you still can’t find it, then create a new .htaccess file by clicking the File section on the top left corner of your File Manager: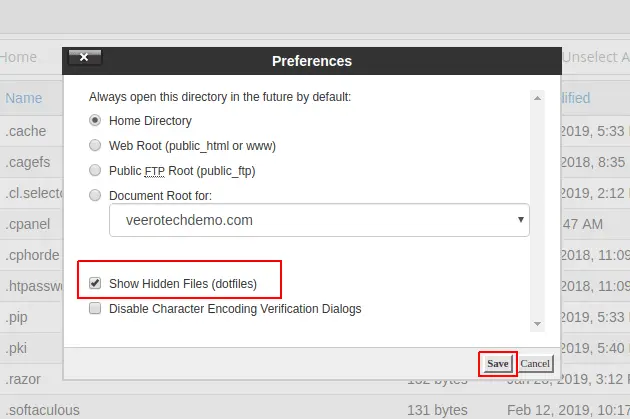 Select your .htaccess file and click on the Edit option from the dashboard.
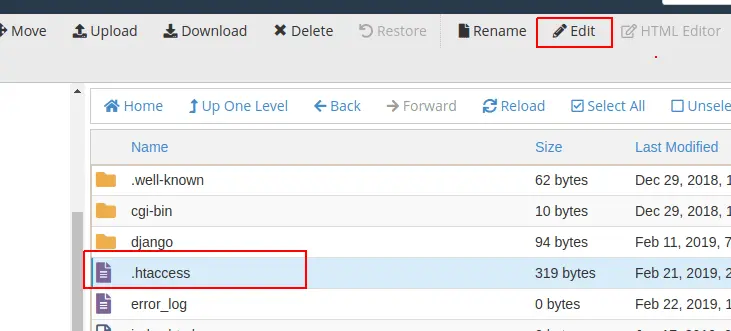
Editing the .htaccess file.
Add the code “Options All –Indexes” and click Save Changes.
Editing the .htaccess file.
Conclusion
The directing listing on your site has been successfully disabled.