In this guide, we’ll go over setting up a Mapped/Network Drive in Windows 10 using our SSH/FTP Storage offerings via cPanel.
Don’t have remote FTP backup storage space? Get it here!
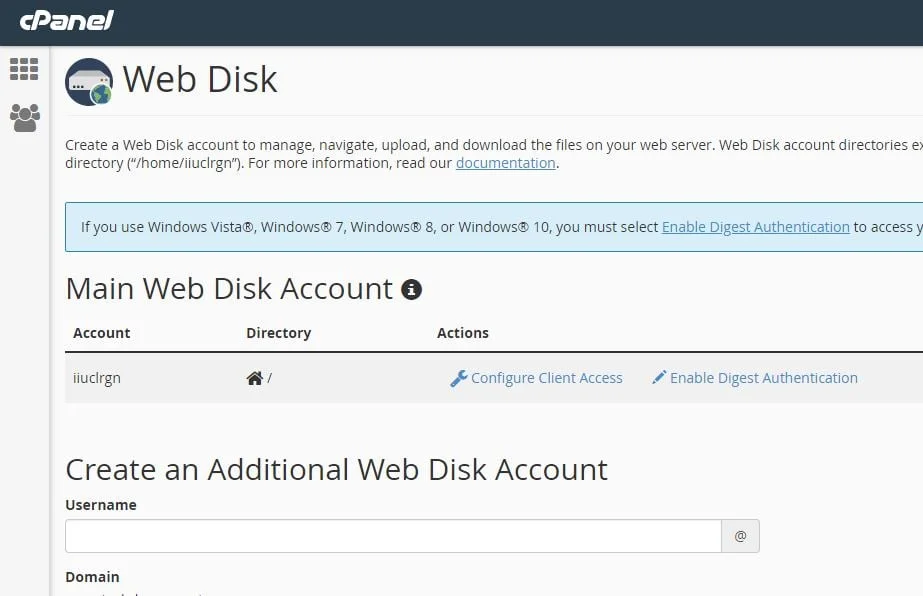
1. Logging into cPanel & locating the Web Disk option.
We’ll assume you’ve logged into cPanel already. Once logged in, you’ll want to locate the Web Disk icon.
![]()
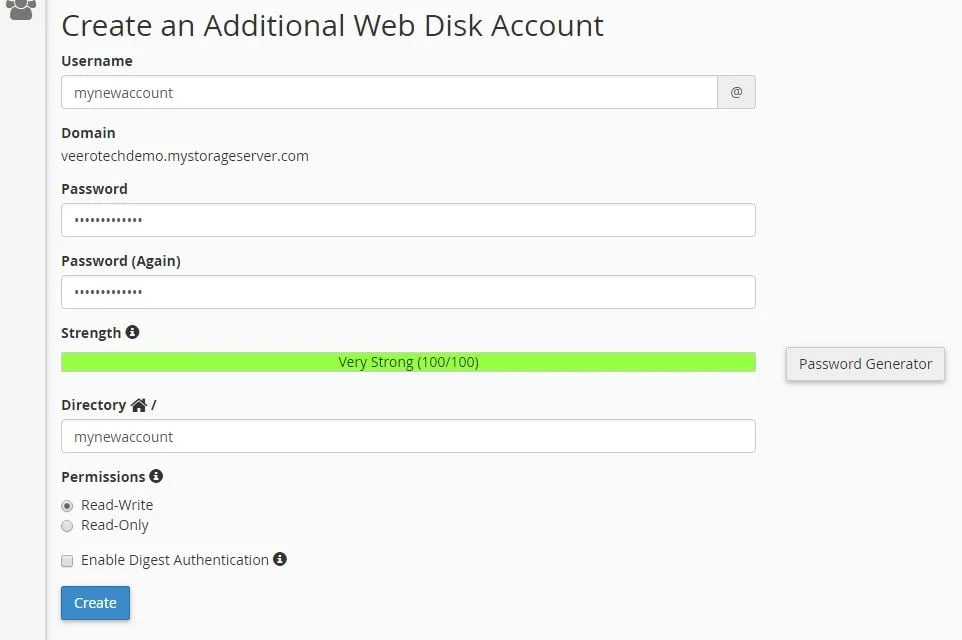
2. Create Web Disk Account
From the screen above, you can either connect using your default login information or you can create a separate account. For this guide, we’ll create a new Web Disk account. You’ll want to complete the fields as shown below. Note, the Directory can be anything of preference as well as simply leaving a / (slash) to simply connect to the root of the folder. (top level).
You do not need to enable Digest Authentication – our storage servers have valid SSL certificates and support encryption. Digest Authentication is only for using clear text communications, which we do not recommend.
After you’ve completed the information & made note of your password that you specified, click Create to proceed with completing the creation of the Web Disk account.
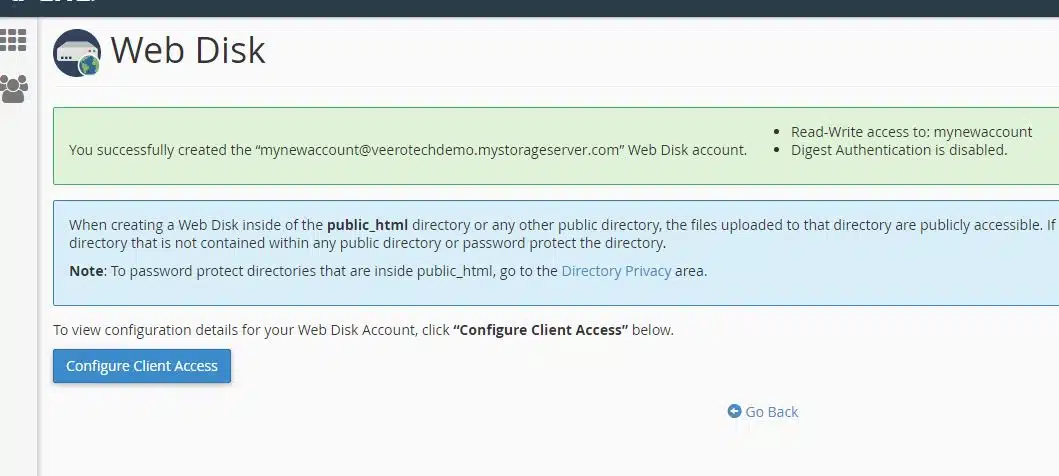
3. Configure client access for the Web Disk account
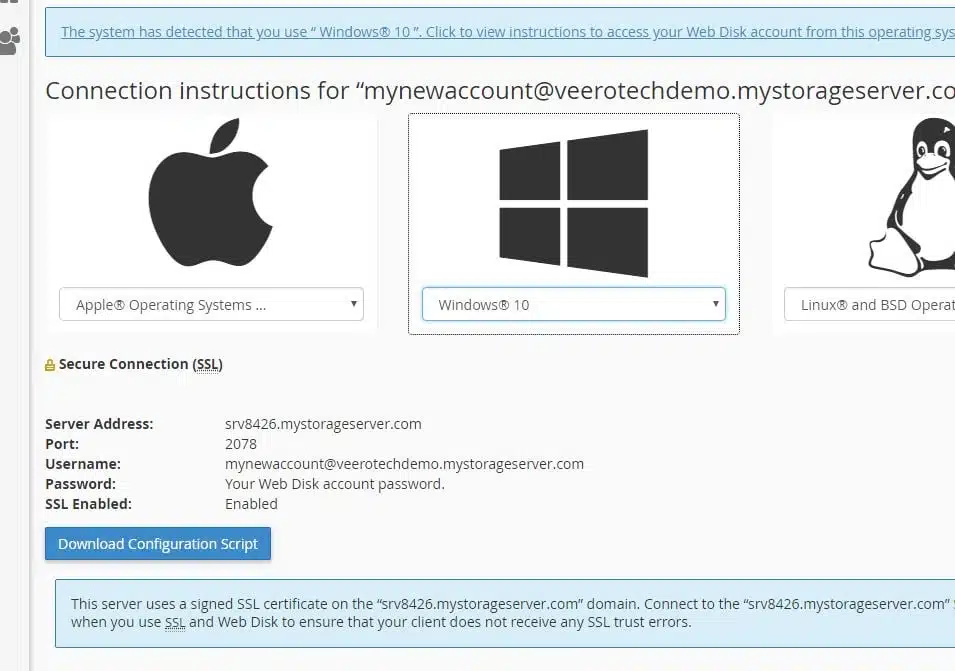
The next step will be to click Configure Client Access to begin the setup of the drive connection from Windows. You’ll be presented with a screen similar to the one shown below. Select your version of Windows (in this case, Windows 10 is what we’re using). You will want to make note of the information specified: Server Address, Port & Username
NOTE: we do not recommend using the Download Configuration Script
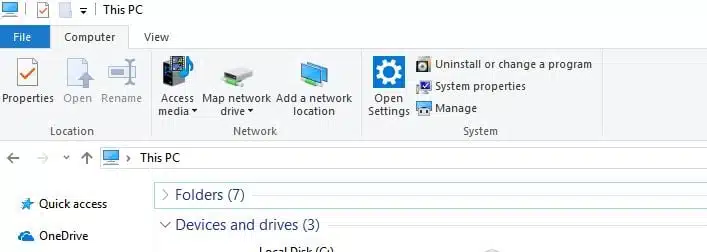
4. Create the Mapped/Network Drive in Windows 10
After you’ve noted the information specified above, you’ll want to navigate to your Windows Explorer or My Computer screen and click Add a network location.
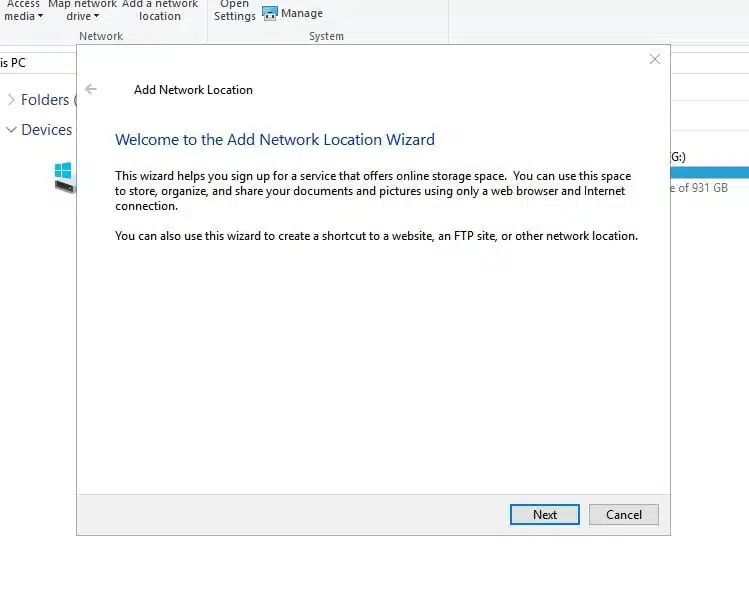
After clicking Add a network location, you’ll be presented with the Add Network Location Wizard, as shown below. On the first page, click Next to begin the setup.
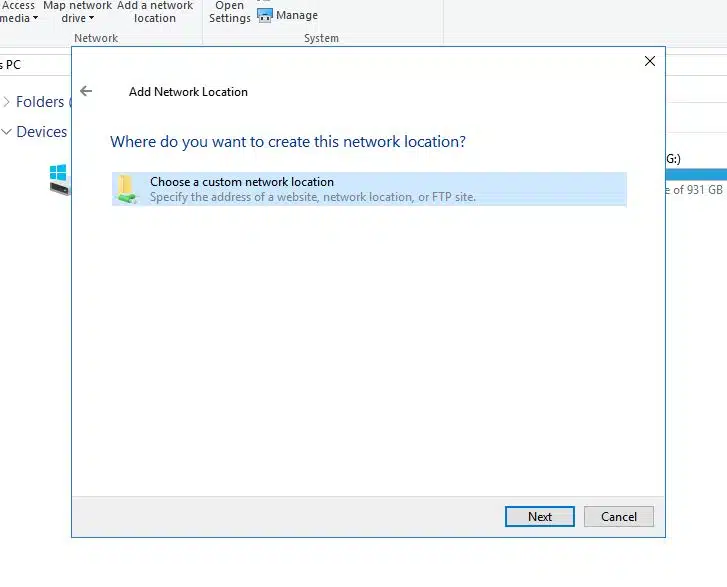
After clicking Next from the previous step, you’ll want to choose the option for Choose a custom network location & click Next again.
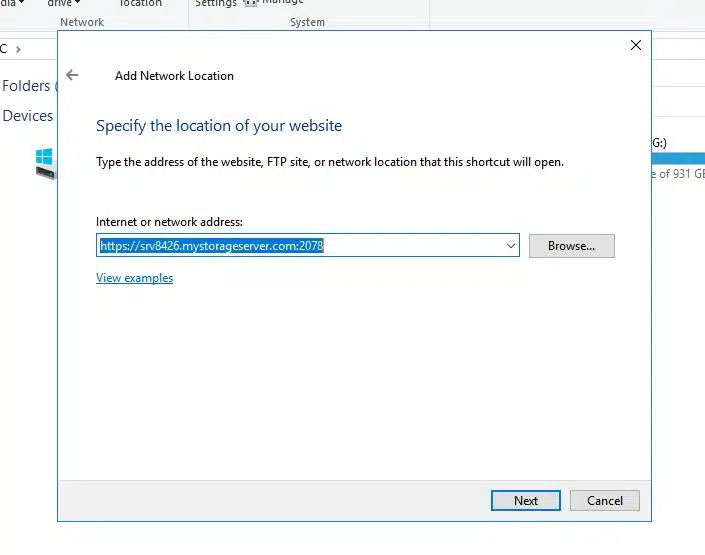
On the next screen, you will want to enter the Server Address & port that you noted previously in step 3 above. You will want to be sure to specify this in the format of https://serveraddress:2078 similar to the information shown below & click Next.
NOTE: Please make sure that the address you enter matches the address you have from your control panel and not the server listed below which is for reference only.
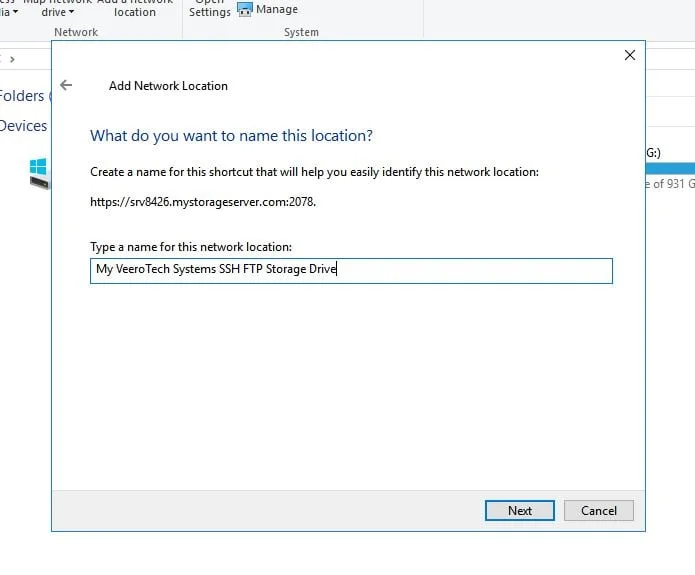
After clicking Next from the previous step, you can now give your connection a friendly name to be displayed when the drive is listed with your other drives or leave it set to the default. Once you’ve entered the name, or left it to the default, click Next & then Finish on the next screen.
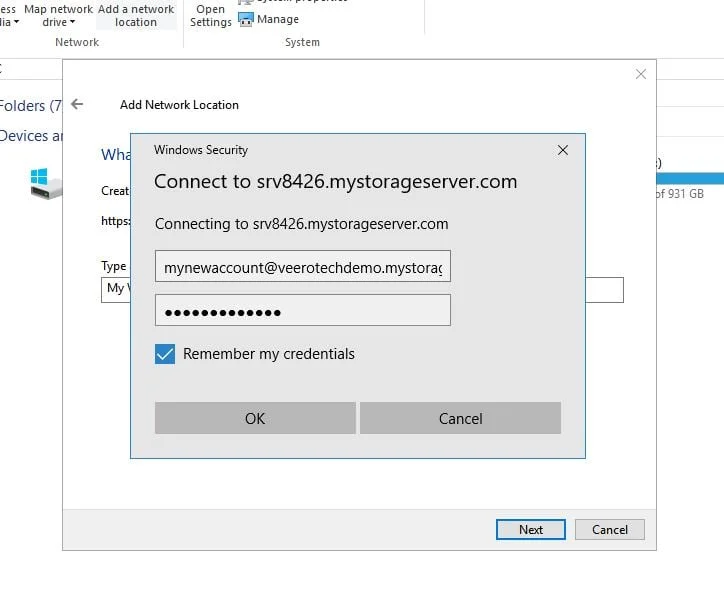
The next step will prompt you for the login credentials to access the server. You will want to refer back to step 3 where you noted the username/password. In this case, we’ll use our existing demo information from this guide. Enter the username in the exact format as provided from step 3 & then click OK.
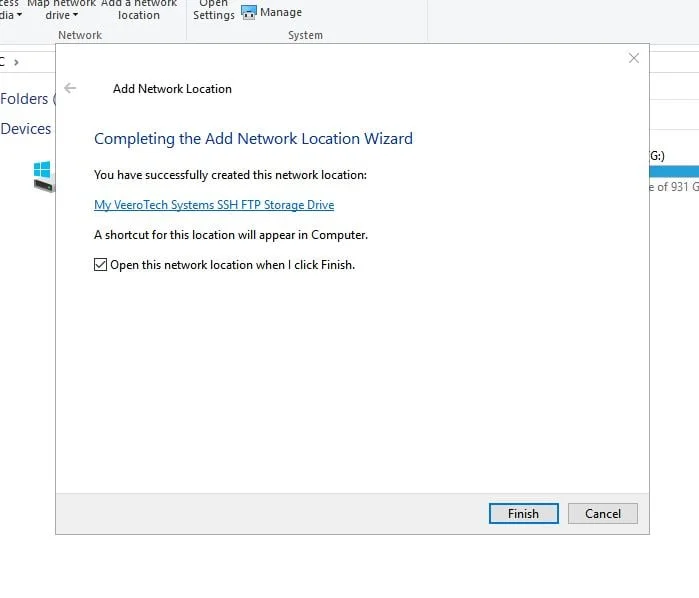
After following the above steps, your SSH/FTP Storage account should now show up as a Network Drive.
If you have any web hosting questions please feel free to reach out to us. We're happy to help.
Our Guiding Principles