This guide will be similar to our previous guide on setting up JetBackup with our SSH & FTP Storage however, we will be backing up to a Storage VPS. If you’re using our SSH/FTP Storage and not a Storage VPS, please view our Setting up JetBackup with SSH/FTP Storage guide: https://www.veerotech.net/kb/setting-up-ftp-ssh-storage-for-use-with-jetbackup-jetbackup-ssh-storage/
This guide assumes your Storage VPS is using port 22 as the default SSH port and the server you are backing up allows port 22 for outbound connections.
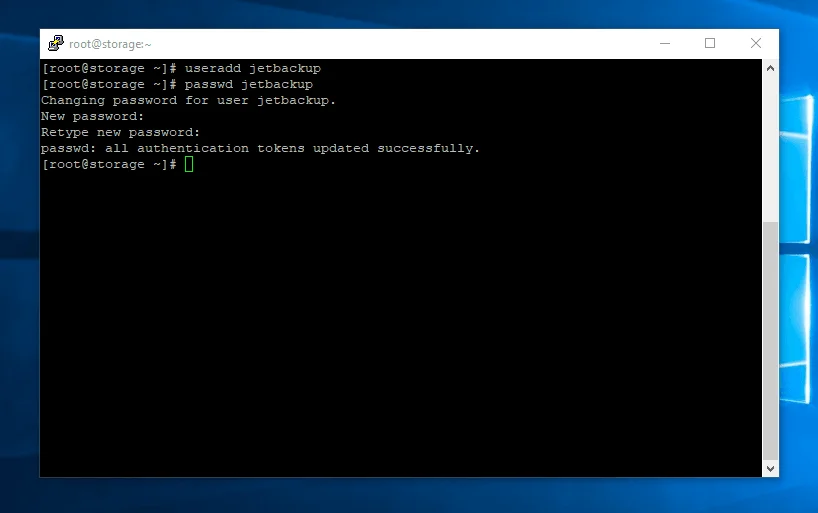
First, we’ll want to prep our Storage Server by adding a user to use for JetBackup & installing rsync. In this guide, we’ll add a user of “jetbackup” with a password of “Gfheyd^j34dF”.
To install rsync, run the following command:
[root@storage ~]# yum install -y rsync
After you’ve created the user account, we’ll change directory to the users home directory.
[root@storage ~]# cd /home/jetbackup
After changing directory to the jetbackup user, we will create a sub-folder for storing our backups from the server we will be backing up. Since we’re logged in as the root user, we will also need to change the owner and group of our new directory.
[root@storage jetbackup]# mkdir backups
[root@storage jetbackup]# chown jetbackup.jetbackup backups/
Now that we have prepped our backup server, we’ll move on to adding a destination in our JetBackup settings on the server we’ll be backing up. While logged into your WHM locate the “Destinations” section within the JetBackup plugin.

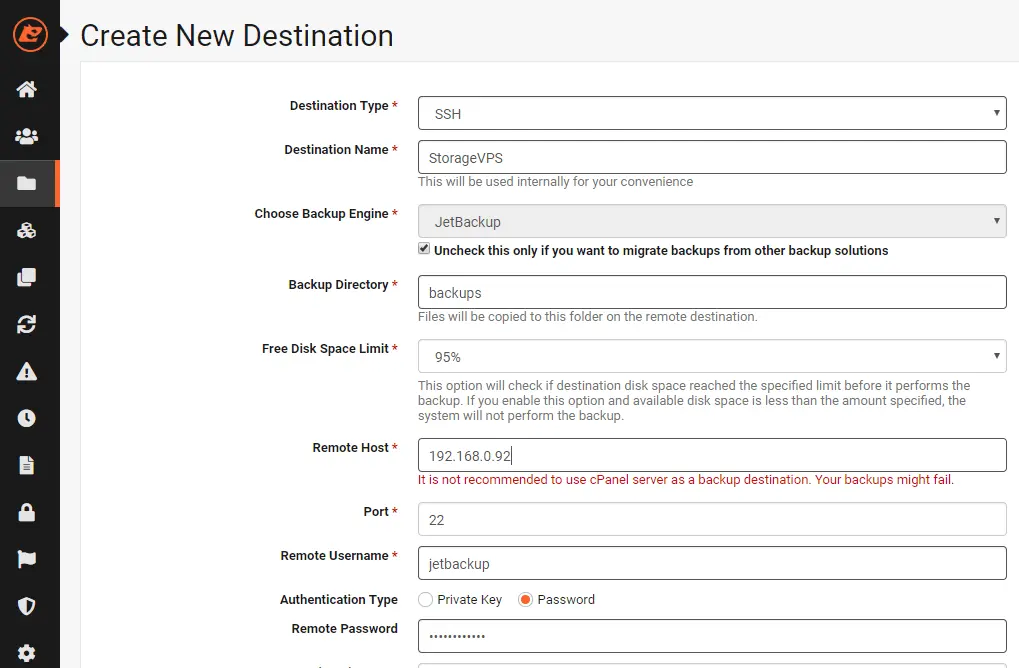
You’ll need to click “+Create New Destination” and then you’ll be presented with the Destination settings. We’ll choose the following settings:
- Destination Type: SSH
- Destination Name: StorageVPS (you can put a name of your choice)
- Choose Backup Engine: Leave default
- Backup Directory: backups (from our previous steps, we created the folder “backups” on our Storage VPS)
- Free Disk Space Limit: Leave default
- Remote Host: IP address of your Storage VPS
- Port: 22 (or other port if you’ve changed it)
- Remote Username: jetbackup (we created this user in the previous steps
- Authentication Type: Leave default (password)
- Remote Password: password for the user
- Rsync Bandwidth Limit: Leave default
- Rsync Prefer IPv4/IPv6: Leave default
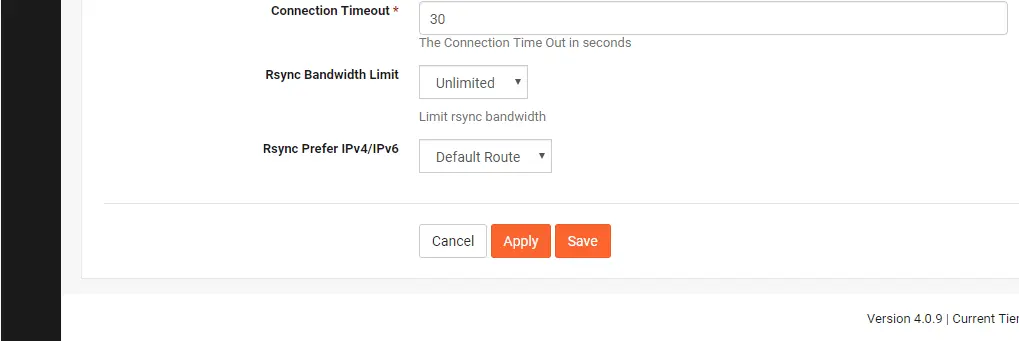
After you’ve entered all of the correct information, proceed with clicking “Apply”. If everything was entered correctly, you’ll see the “Success! Destination Created Successfully” message.
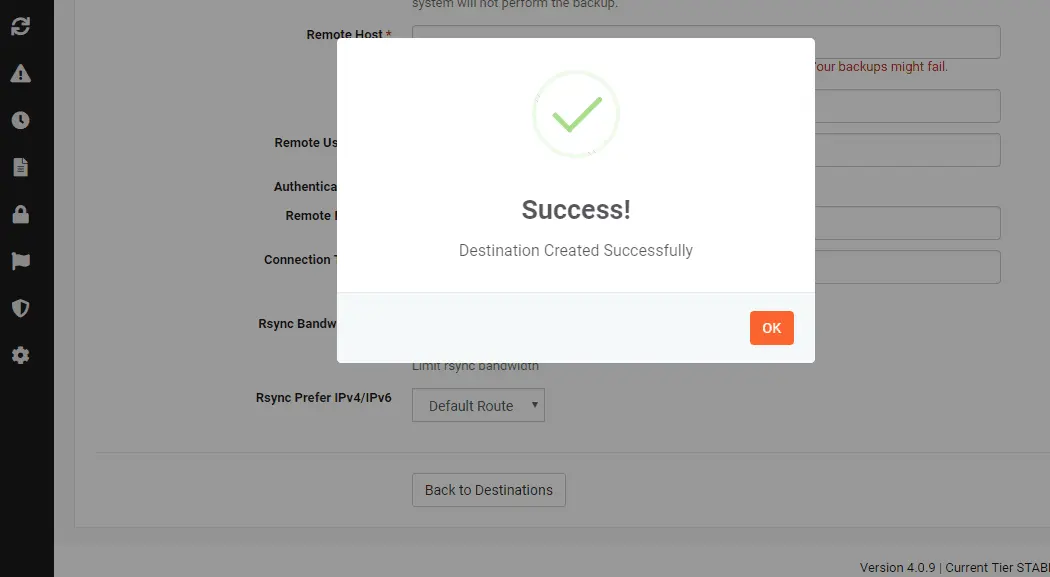
JetBackup has now been connected to your Storage VPS and you can proceed with setting up your backup jobs. If you are setting up JetBackup and have a Storage VPS or FTP/SSH Storage plan with us and need help, feel free to reach out to our support department.
If you have any web hosting questions please feel free to reach out to us. We're happy to help.
Our Guiding Principles