JetBackup is a popular backup application used with cPanel/WHM for backing up cPanel accounts. Our FTP & SSH storage is fully compatible with JetBackup as a storage destination.
If you don’t have an account yet, you can find them here: FTP Storage & SSH Storage
Note: In order to use JetBackup, you must have root level access to your server. If you have a Managed VPS with VeeroTech and would like to use JetBackup, please contact our sales dept.
If you’re familiar with setting up JetBackup already, below are the quick settings to enter:
- Remote Host: hostname we provided (yourinfo.mystorageserver.com)
- Port: 2246 (note that we use port 2246 on storage servers)
- Remote Username: username provided
- Remote Password: password provided (or that you changed, which we recommend)
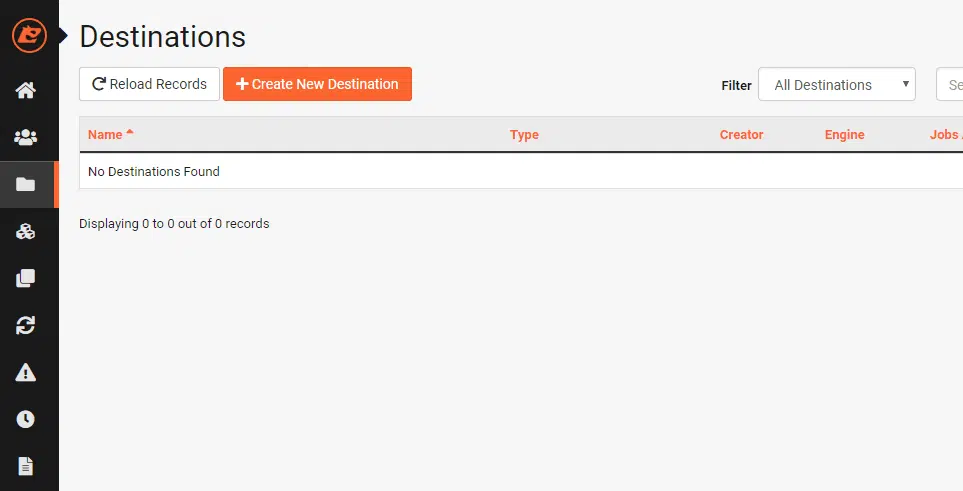
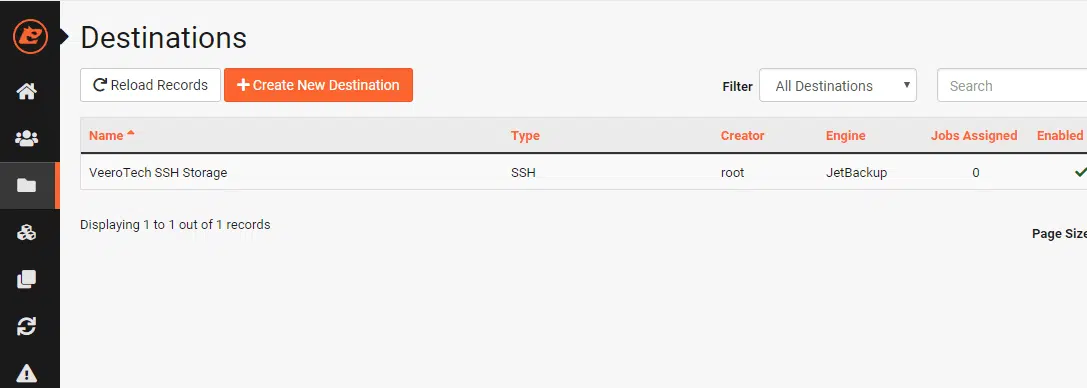
After you’ve gotten your storage account, you’ll need to add a new destination within the JetBackup Destination settings. First, you’ll click “+Create New Destination” as shown below.
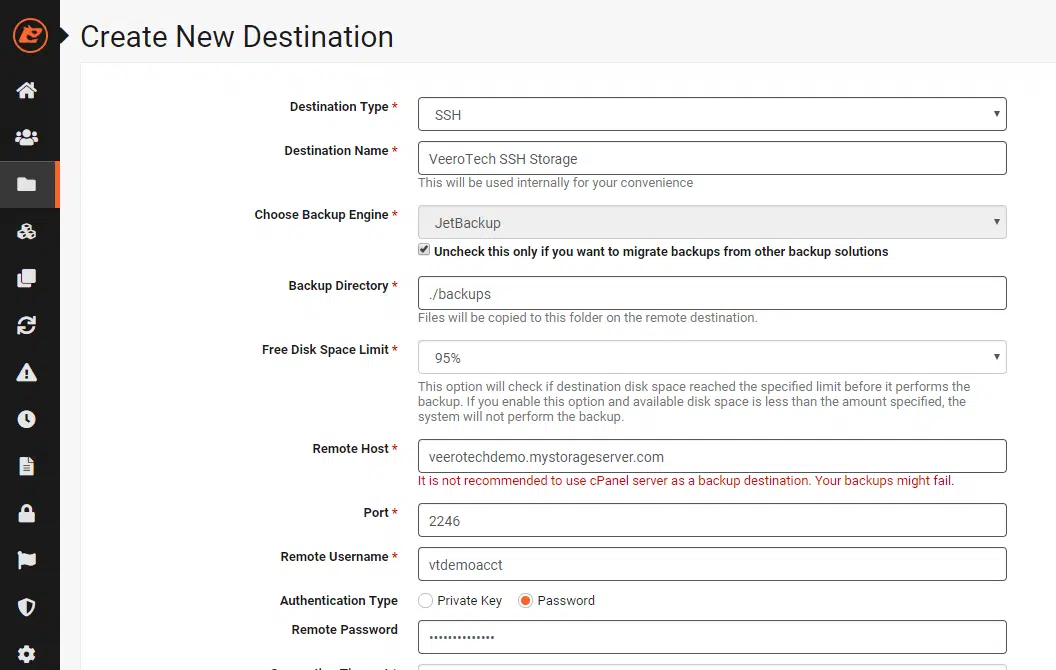
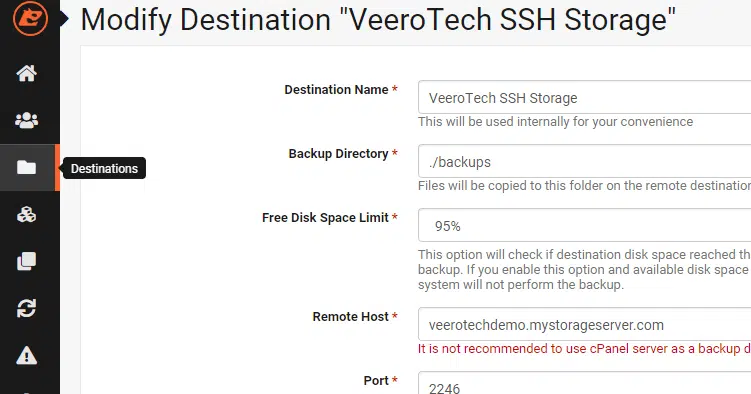
You’ll want to choose the following settings:
- Destination Type: Choose “SSH”
- Destination Name: Create a name (we chose VeeroTech SSH Storage)
- Choose Backup Engine: JetBackup – leave the default setting
- Backup Directory: ./backups (we added the “backups” to the default)
- Free Disk Limit: Leave default
- Remote Host: (your hostname provided with our storage “yourinfo.mystorageserver.com”)
- Port: 2246
- Remote Username: your storage username
- Authentication Type: leave default to password
- Remote Password: your storage password
- Connection Timeout: leave default
- Rsync Bandwidth Limit: leave default
- Rsync Prefer IPv4/IPv6: leave default
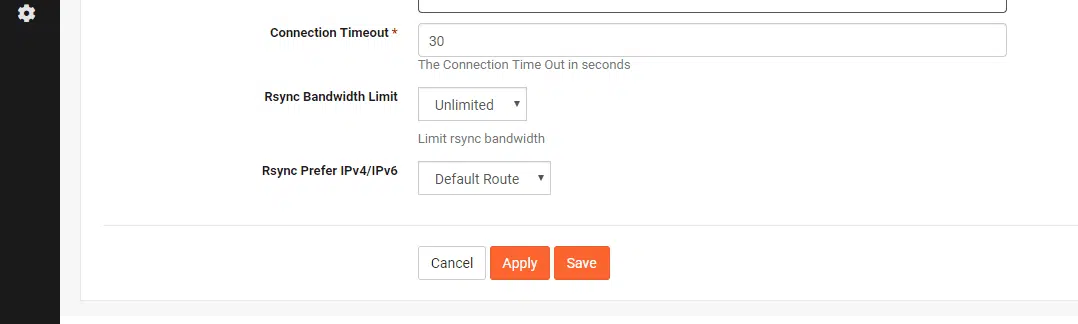
After you’ve completed all of the above fields, click the “Apply” button at the bottom. After, you’ll get a notification on the screen that the JetBackup destination was created. If you get an error, please be sure to review the settings in the previous steps.
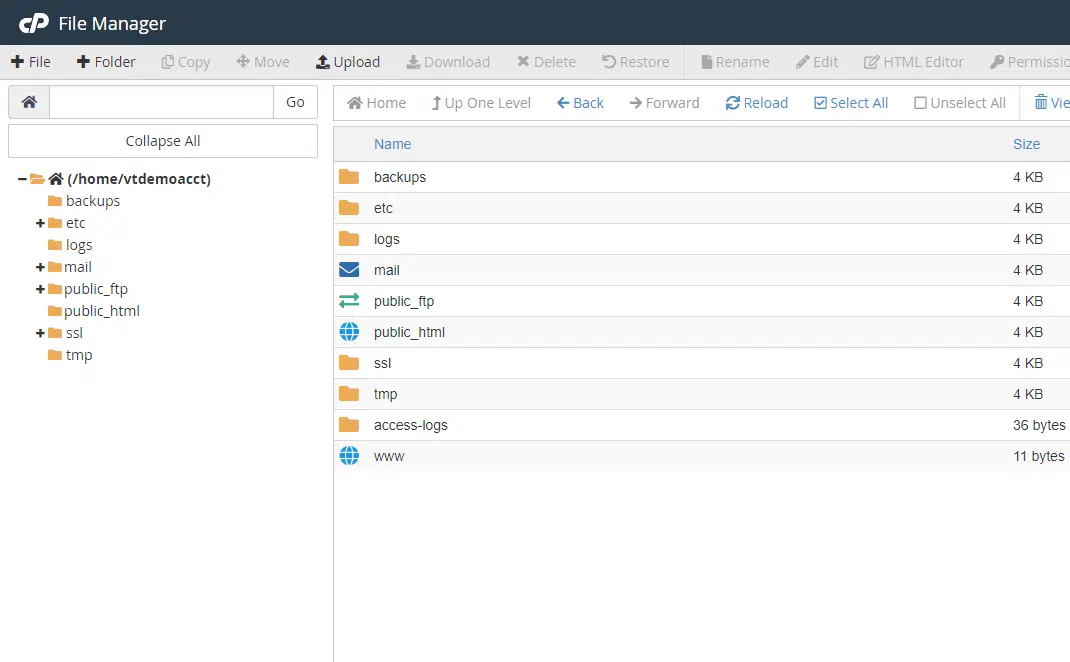
After you’ve clicked “Apply” and the destination was created successfully, you should now see the directory specified within your cPanel SSH Storage hosting account. Below shows the directory “backups” which we specified in the above steps.
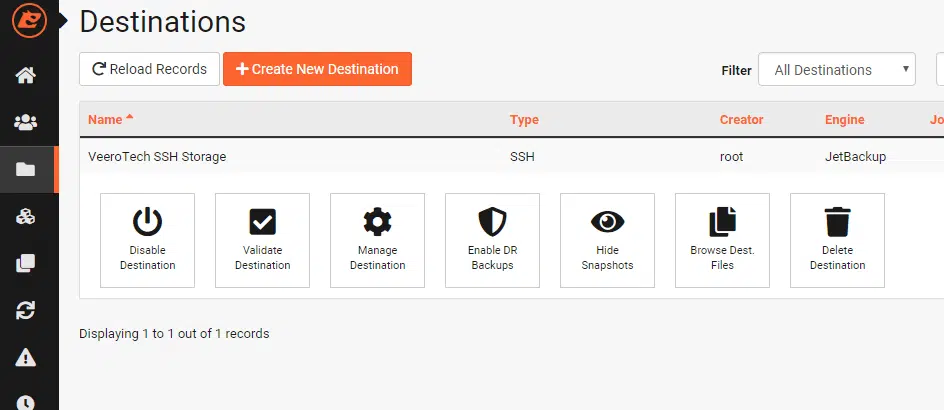
From the menu on the left side of JetBackup, click “Destinations”:
When on the Destinations screen within JetBackup, you can also perform the following actions:
If you have any web hosting questions please feel free to reach out to us. We're happy to help.
Our Guiding Principles