Introduction
In today’s competitive digital landscape, businesses often choose VPS hosting for better performance, flexibility, and scalability. But one major decision can significantly impact your website’s reliability and security: choosing between a self-managed VPS and a managed hosting solution.
At first glance, unmanaged VPS hosting may seem attractive because of its lower price and full server control. However, many businesses underestimate the technical expertise, security responsibilities, and ongoing maintenance required to manage a VPS server effectively.
A poorly maintained VPS can lead to server downtime, security breaches, slow performance, failed backups, and costly business interruptions.
This guide explains the major risks of self-managed, compares managed vs unmanaged VPS, and helps you decide when unmanaged hosting may not be the right choice for your business.
What Is a Self-Managed VPS?
A self-managed VPS (also called unmanaged VPS hosting) is a virtual private server where the hosting provider only manages the physical infrastructure and virtualization layer.
Everything else becomes your responsibility, including:
- Linux server management
- Software installation
- Security patches
- Firewall configuration
- Website backup management
- Server monitoring
- VPS troubleshooting
- Performance optimization
- Malware cleanup
With self-managed VPS hosting, you receive root access and full control over the server environment. While this flexibility appeals to developers and experienced system administrators, it can quickly become overwhelming for non-technical users.
Who Typically Uses Unmanaged VPS Hosting?
Self-managed VPS hosting is generally suitable for:
- Experienced developers
- Linux system administrators
- DevOps teams
- Businesses with in-house IT staff
- Users requiring highly customized server environments
If you lack server administration experience, unmanaged VPS risks can outweigh the cost savings.
Main Risks of Unmanaged VPS Hosting
Choosing unmanaged VPS hosting means you are fully responsible for maintaining server health, uptime, and security.
Here are the biggest challenges businesses face.
1. Server Security Issues
Security is one of the most critical concerns with self-managed VPS hosting.
Without proper protection, your VPS becomes vulnerable to:
- Malware infections
- Brute-force attacks
- DDoS attacks
- Ransomware
- Data theft
- Unauthorized access
Many users fail to regularly update software packages, leaving known vulnerabilities exposed.
Common Security Tasks You Must Handle
|
Security Task |
Responsibility in Self-Managed VPS |
|
Firewall setup |
User |
|
Malware scanning |
User |
|
Security patching |
User |
|
SSL configuration |
User |
|
Intrusion detection |
User |
|
Backup encryption |
User |
Even a single missed update can compromise your entire server.
2. Constant VPS Maintenance
A VPS server requires continuous monitoring and maintenance.
This includes:
- OS updates
- Kernel patches
- Database optimization
- Web server tuning
- Disk cleanup
- Resource monitoring
Unlike managed VPS hosting, unmanaged environments do not include proactive maintenance support.
Businesses often underestimate how time-consuming VPS maintenance can become.
3. Increased Risk of Server Downtime
Improper server configuration can lead to unexpected outages.
Common causes include:
- High CPU usage
- Memory overload
- Disk failures
- Incorrect firewall rules
- Failed updates
- Software conflicts
Server downtime directly impacts:
- Revenue
- SEO rankings
- Customer trust
- Conversion rates
For eCommerce stores or business-critical applications, even a few minutes of downtime can result in significant losses.
4. Technical Knowledge Is Essential
One of the main challenges of using a self-managed VPS is the level of technical expertise required to run and maintain the server properly.
With unmanaged VPS hosting, you are responsible for tasks such as:
- Linux server administration
- Using SSH commands
- DNS setup and management
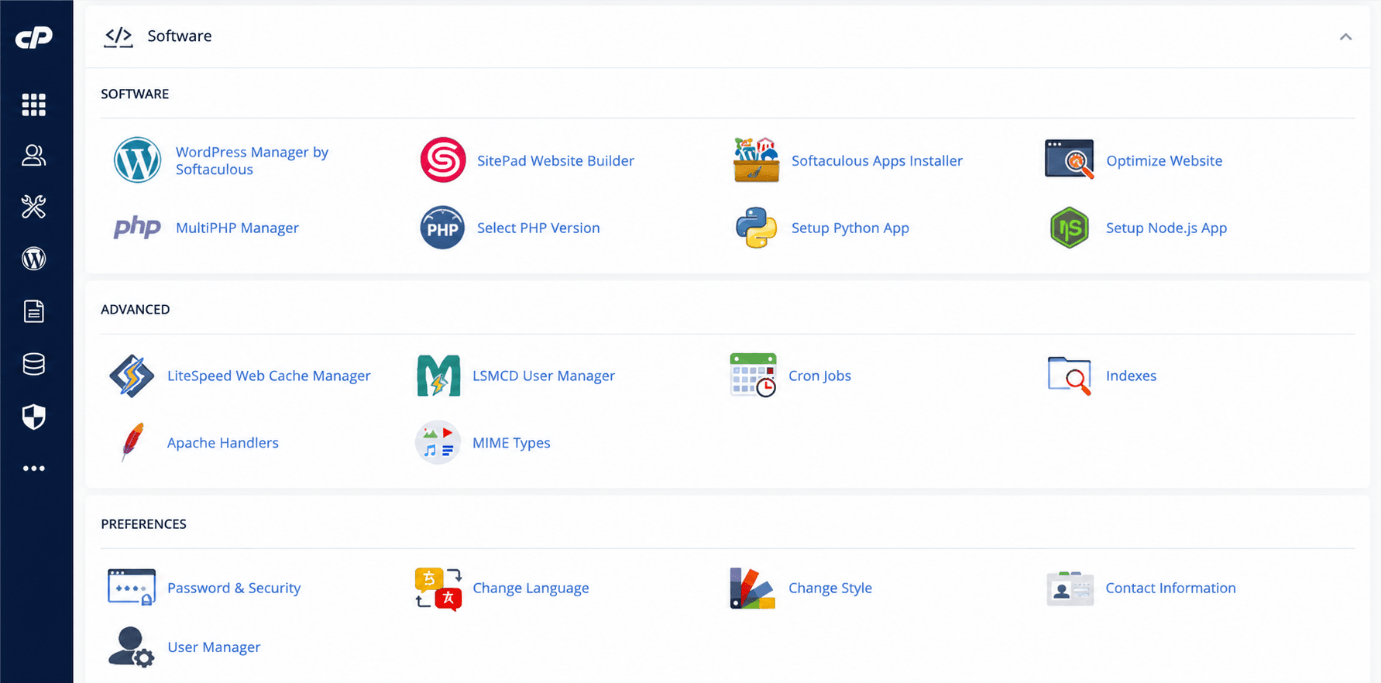
- Apache or Nginx web server configuration
- MySQL database optimization
- Server security hardening
- Monitoring and analyzing server logs
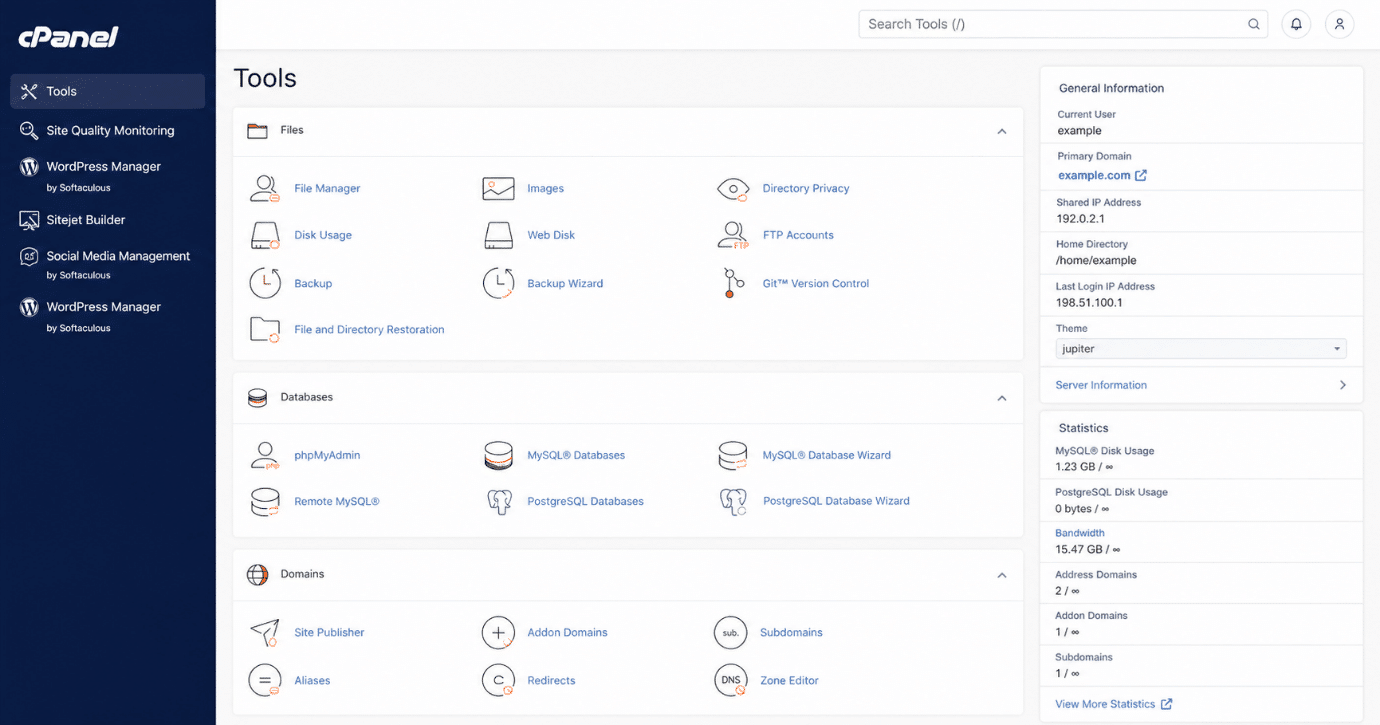
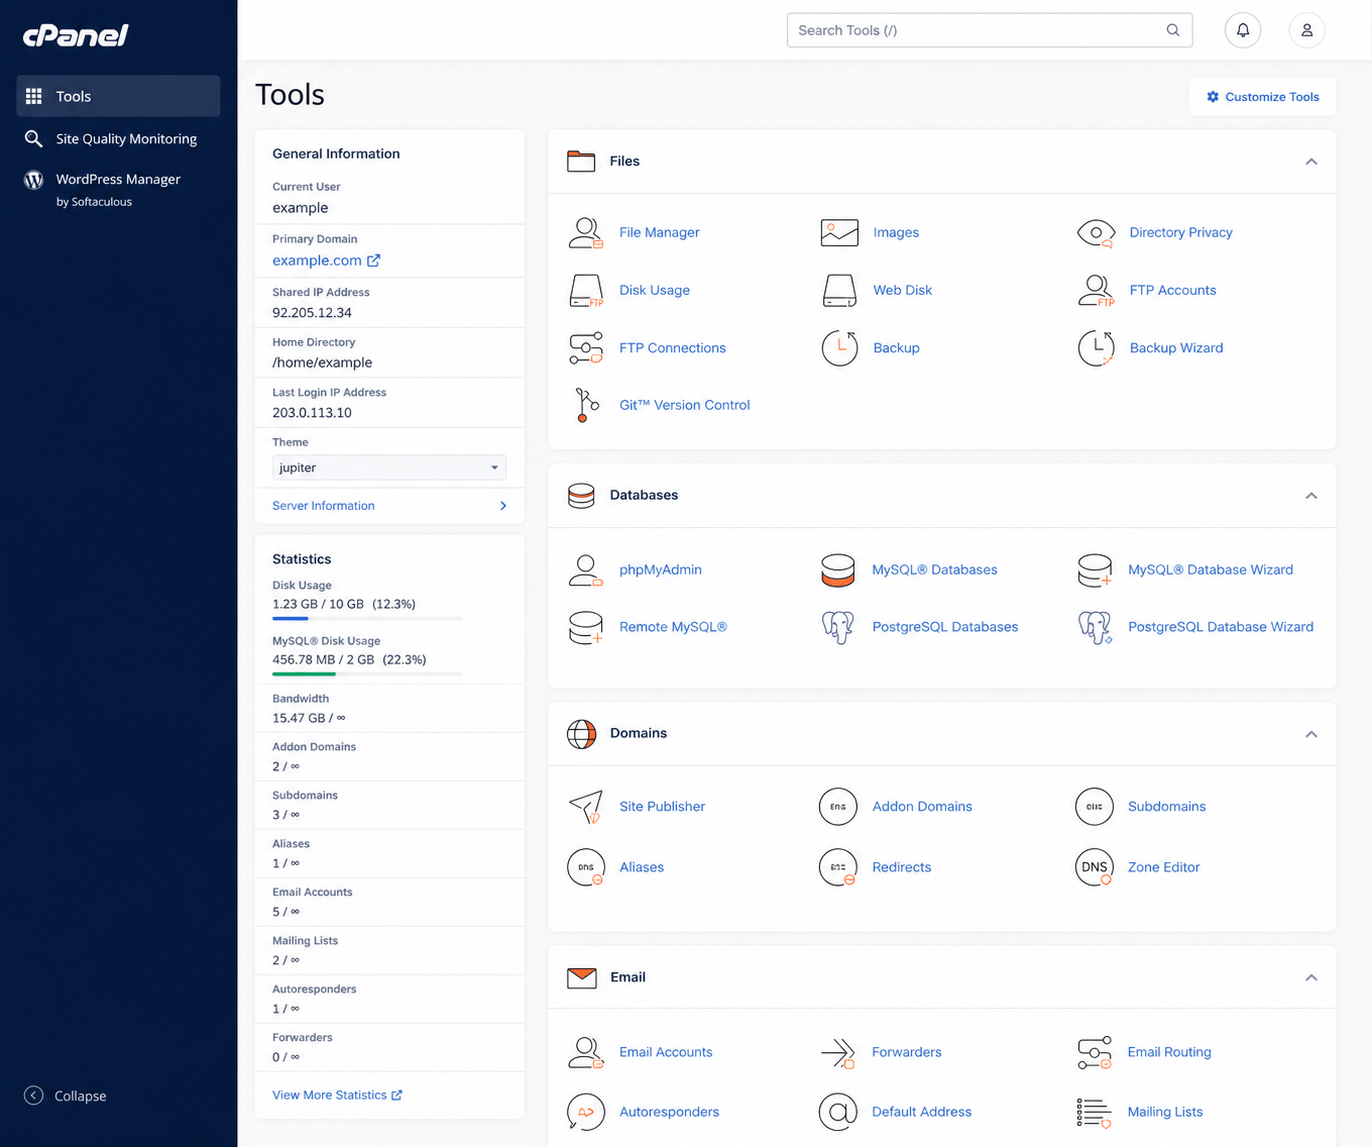
- Managing cPanel VPS hosting settings
Without strong VPS administration skills, even small server issues can quickly become time-consuming and stressful to troubleshoot. This is one reason many businesses prefer managed VPS hosting for better support, security, and peace of mind.
For users managing cPanel environments, the official cPanel Documentation can also be a valuable resource for server setup, configuration, and troubleshooting guidance.
5. Backup and Recovery Challenges
Website backup management is entirely your responsibility in a self-managed environment.
Many businesses fail to:
- Create automated backups
- Verify backup integrity
- Store offsite backups
- Test restoration procedures
If your server crashes or gets hacked without proper backups, data loss may become permanent.
6. Time-Consuming VPS Troubleshooting
Troubleshooting server issues can consume hours or even days.
Common problems include:
- Website errors
- Database crashes
- SSL certificate issues
- Email delivery failures
- High resource usage
- Service interruptions
Without expert support, diagnosing and fixing these issues requires advanced server administration skills.
Security Challenges in Self-Managed VPS
Why Self-Managed VPS Security Is Difficult
Cyber threats evolve constantly. A secure VPS setup requires:
- Continuous monitoring
- Real-time threat detection
- Patch management
- Secure SSH access
- Firewall tuning
- Malware scanning
- User access management
Most business owners simply do not have the time or expertise to manage enterprise-grade security properly.
Common Security Mistakes
Weak Password Policies
Simple passwords make brute-force attacks easier.
Ignoring Software Updates
Outdated software is one of the most common causes of server compromise.
Improper Firewall Rules
Misconfigured firewalls can expose critical services publicly.
No Server Monitoring
Without monitoring tools, attacks may go unnoticed for days.
Managed vs Unmanaged VPS: Key Differences
Understanding the difference between managed and unmanaged VPS hosting helps businesses make informed decisions.
|
Feature |
Self-Managed VPS |
Managed VPS Hosting |
|
Server setup |
User-managed |
Provider-managed |
|
Security updates |
User responsibility |
Included |
|
Monitoring |
User-managed |
24/7 monitoring |
|
Backups |
User-managed |
Automated backups |
|
Technical support |
Limited |
Full support |
|
Performance optimization |
User-managed |
Included |
|
Troubleshooting |
User responsibility |
Expert assistance |
|
Best for |
Advanced users |
Businesses & beginners |
Benefits of Managed VPS Hosting
Managed VPS hosting reduces operational stress by providing:
- Proactive monitoring
- Security hardening
- Automated backups
- Performance optimization
- Expert technical support
- Faster issue resolution
- Reduced downtime risk
This allows businesses to focus on growth instead of server management.
When Should You Avoid Self-Managed VPS?
Many businesses ask:
“Should I choose unmanaged VPS hosting?”
The answer depends on your technical knowledge and operational needs.
You should avoid unmanaged VPS if:
You Lack Linux Server Management Experience
If you are unfamiliar with Linux administration, unmanaged hosting can quickly become overwhelming.
Your Website Generates Revenue
Business-critical websites require stability, uptime, and professional monitoring.
You Need Reliable Support
Self-managed VPS environments usually provide limited support beyond hardware or network issues.
Security Is a Priority
Managed hosting providers often implement advanced security measures that most businesses cannot manage internally.
You Have Limited Time
Server maintenance requires ongoing attention. Business owners often underestimate the time commitment involved.
You Operate an eCommerce Website
Online stores require:
- PCI compliance
- High uptime
- Secure payment environments
- Fast issue resolution
Managed VPS hosting is generally safer for eCommerce businesses.
Why Businesses Prefer Managed VPS Hosting
Businesses increasingly choose managed VPS hosting because it reduces operational risks while improving reliability.
1. Better Security Management
Managed hosting providers proactively handle:
- Security patches
- Malware removal
- Firewall management
- Threat monitoring
2. Reduced Downtime
24/7 monitoring helps detect issues before they impact your website.
3. Expert Technical Support
Professional administrators handle server problems quickly and efficiently.
4. Automated Backups
Managed providers typically include reliable backup systems and disaster recovery support.
5. Performance Optimization
Servers are continuously optimized for speed and stability.
Practical Tips Before Choosing a VPS
Choose Managed Hosting If:
- You run a business website
- You lack technical expertise
- You need reliable uptime
- You prioritize security
- You want peace of mind
Choose Self-Managed VPS If:
- You are an experienced Linux administrator
- You need complete customization
- You understand server security
- You can manage backups and monitoring independently
FAQs
1. What is a self-managed VPS?
A self-managed VPS is a hosting environment where the user is responsible for server setup, maintenance, security, updates, and troubleshooting.
2. Is unmanaged VPS hosting suitable for beginners?
No. Unmanaged VPS hosting requires technical expertise in Linux server management, security, and troubleshooting.
3. What are the risks of self-managed VPS hosting?
The biggest risks include security vulnerabilities, server downtime, failed backups, misconfigurations, and lack of technical support.
4. What is the difference between managed vs unmanaged VPS hosting?
Managed VPS includes server management, monitoring, security, and support, while unmanaged VPS requires the user to handle everything independently.
5. When should businesses avoid unmanaged VPS?
Businesses should avoid unmanaged VPS when they lack technical expertise, require reliable uptime, or operate mission-critical websites.