Security and performance are the cornerstones of a successful website. This holds true whether you’re an individual blogger with a single WordPress site, a multinational corporation with a vast library of online content, or fall anywhere in-between. While there’s no one-size-fits-all means to ensure sites are fast and secure, in many cases leveraging the power of a content delivery network, or CDN, is a great way to enhance speed and performance.
Website operators have realized the benefits of CDNs, and adoption has surged. During that time, CDNs have helped sites of all sizes better serve and improve user experience (UX) and search engine optimization (SEO). Several years ago even video-streaming giant Netflix recognized the benefits, and built out their own CDN to enhance viewer experience. As the amount of data we consume online continues to rise, the benefits of CDNs will become further magnified.
In this piece, we’ll provide a crash course on CDNs. By reviewing their benefits, we’ll help you understand if using one makes sense for your website.
What is a CDN?
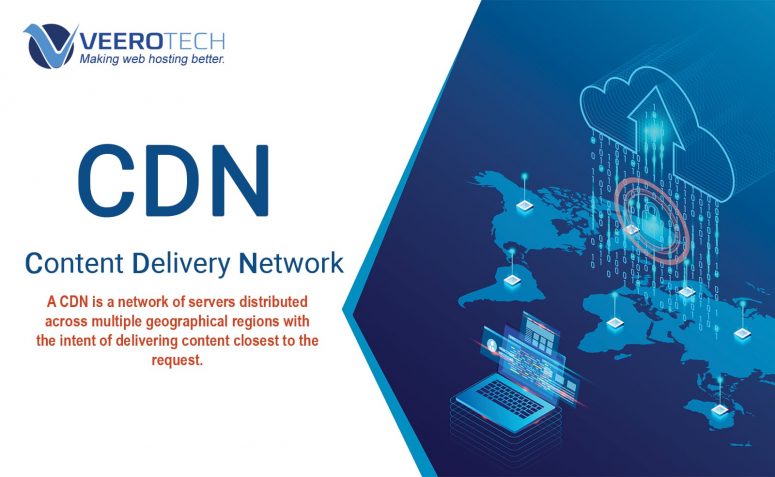
A CDN is a network of servers distributed across multiple geographical regions with the intent of delivering content. The physical locations where these servers are located are sometimes called points of presence, or PoPs. Built from the ground up to optimize speed, CDNs serve a variety of content including images, video, stylesheets, and more.
Is a CDN a web host?
In a word, no.
A traditional web hosting model would see all of your content delivered to website visitors from a single server. As a distributed network of servers designed to optimize the delivery of content from web hosts, CDNs aren’t web hosts themselves. The services provided by the team here at VeeroTech are an example of web hosting, while our partner Cloudflare is an example of a CDN. In the world of CDNs, the original web server is often referred to as the “origin server.”
Impact of a CDN on website performance
With PoPs distributed across the globe serving content from an “origin server,” CDNs boast a number of benefits for website visitors and administrators alike. By serving content at PoPs that are closer to users, CDNs can significantly improve page load times and user experience.
To help conceptualize this, consider a user in London, England, who accesses a site hosted in Los Angeles, California, USA. To get the content to the PC in London, the traffic will likely have to traverse a number of “hops” across the Internet, and have a significant amount of latency. However, if the origin site leverages a CDN with a PoP in London, the data has a much shorter path to its destination, greatly reducing latency.
In addition to the distance reduction benefits of a CDN, web hosting providers also optimize their infrastructure to increase speed (e.g., by using SSDs and load balancing) and use file size reduction techniques to improve page load times. Cloudflare’s Railgun network optimizer is another example of how CDNs help further boost performance. Railgun improves the connection between an origin server and the CDN network, increasing performance by 200% on average. All these features come together to reduce page load times for users.
Why a CDN really matters
While reducing page load times is great, why should website administrators care? What’s the impact of improved performance on traffic and SEO? The short answer is, the impact of site performance on traffic and SEO is huge. For some supporting evidence, consider the following:
- Website speed is a factor that impacts both Google Search results and Google Ads. Speed has been a part of Google’s rankings on desktop for some time now. Last year, Google announced that speed will be considered as a landing page factor for mobile searches as well. If you care about SEO, you should care about website speed.
- A 2-second delay in load time increases bounce rates by 103%. This statistic comes from CDN provider Akamai and drives home just how important page load time can be to capturing the attention of your audience. If your page doesn’t load quickly, you’ll likely lose a large chunk of your audience.
- Faster pages can lead to higher conversion rates. Looking at this case study from Akamai, we can see how a mere 1-second improvement in performance led to a 27% increase in conversion rates.
Impact of a CDN on website security and reliability
In addition to improving a website’s performance, a CDN also makes a website more robust and secure. It does so by limiting the site’s vulnerability to attacks and improving its uptime and availability.
One of the biggest security advantages CDNs offer is reduced exposure to distributed denial of service (DDoS) attacks. This is due in part to integrated security features, as well as the capacity of CDN networks relative to the capacity of an origin server. For example, Cloudflare’s network has a capacity that’s fifteen times greater than the largest DDoS attack on record. Additionally, many CDNs offer security features that analyze traffic and proactively block threats. They also support SSL and TLS to help prevent man-in-the middle (MITM) attacks and data breaches.
While mitigating threats is an obvious way CDNs can improve site reliability and uptime, the increased network capacity has availability benefits beyond those related to nefarious causes. For example, spikes in traffic can wreak havoc on a website. CDNs reduce the workload on origin servers when these spikes occur, spreading the bursts across a network of servers. This, in turn, makes your website more robust and helps to increase uptime.
Conclusion: CDNs help you optimize your website
A CDN’s ability to reduce distance between content and users and guard against attacks will improve a website’s performance. Here at VeeroTech, we recognize the value CDNs offer to websites of all sizes. That’s why we offer the Cloudflare CDN on all cPanel accounts and integration with Cloudflare Railgun. Click here to find an NVMe Web Hosting plan that’s right for you!