Quick Steps:
- sign in to Google Domains
- Select the domain
- Select DNS on the left menu and use custom name servers in the details on the right side
- In the nameserver field, add custom name servers. Click “+” to add more entries.
- Click “Save”
In this article, we will be explaining how to change name servers at Google Domains to use Veerotech name servers.
Google Domains is a domain registration service launched by Google in 2015 which helps you register the domain name that you use with your websites. They also offer free privacy protection for applicable TLDs.
Google Domains provides 2 name server options. Google Domains name servers and custom name servers. While using Google Domains name servers, Google manages the name servers and DNS resource records for you. You will have to manually add DNS entries by referring to your hosting provider. On custom name servers, DNS records are managed by the hosting provider of your website.
If you are not sure about managing DNS records or manually adding them, we recommend using custom name servers option.
Let’s see how you can add custom name servers at Google Domains that allow pointing the domain to the Veerotech servers and the website in your cPanel account here.
We assume you already have a domain registered and are shown in the dashboard. Follow the steps mentioned below.
Step 1 : Sign in to Google Domains ( https://domains.google.com/registrar )
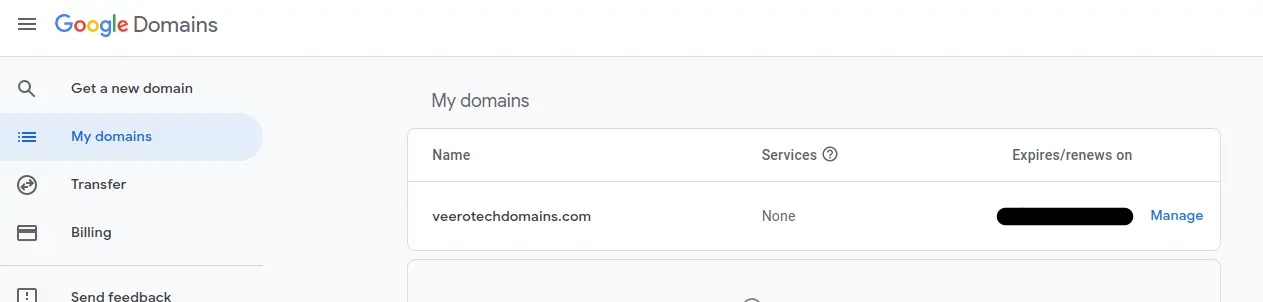
Step 2 : On the landing page, under My Domains, select the domain you want to change name servers.
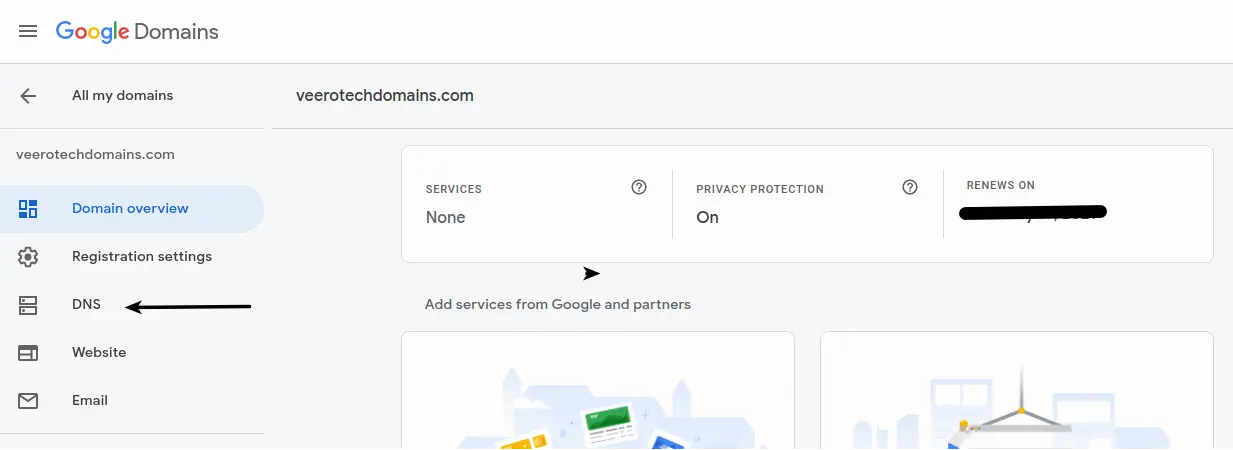
Step 3 : In the left side menu, click DNS
Step 4 : Under “Name servers,” select Use custom name servers.
Step 5 : In the “Name server” field, enter a custom name server from the list of name servers below.
ns1.veerotech.net
ns2.veerotech.net
ns3.veerotech.net
ns4.veerotech.net
You do not need to use all 4 name servers however, we recommend at least 2.
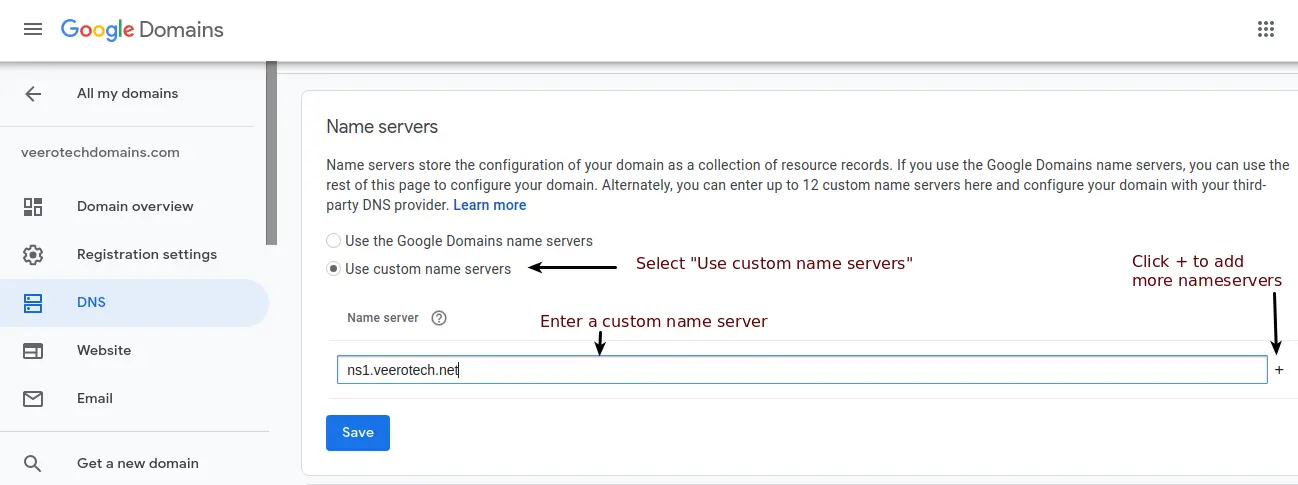
Step 6 : Click + to add more name servers.
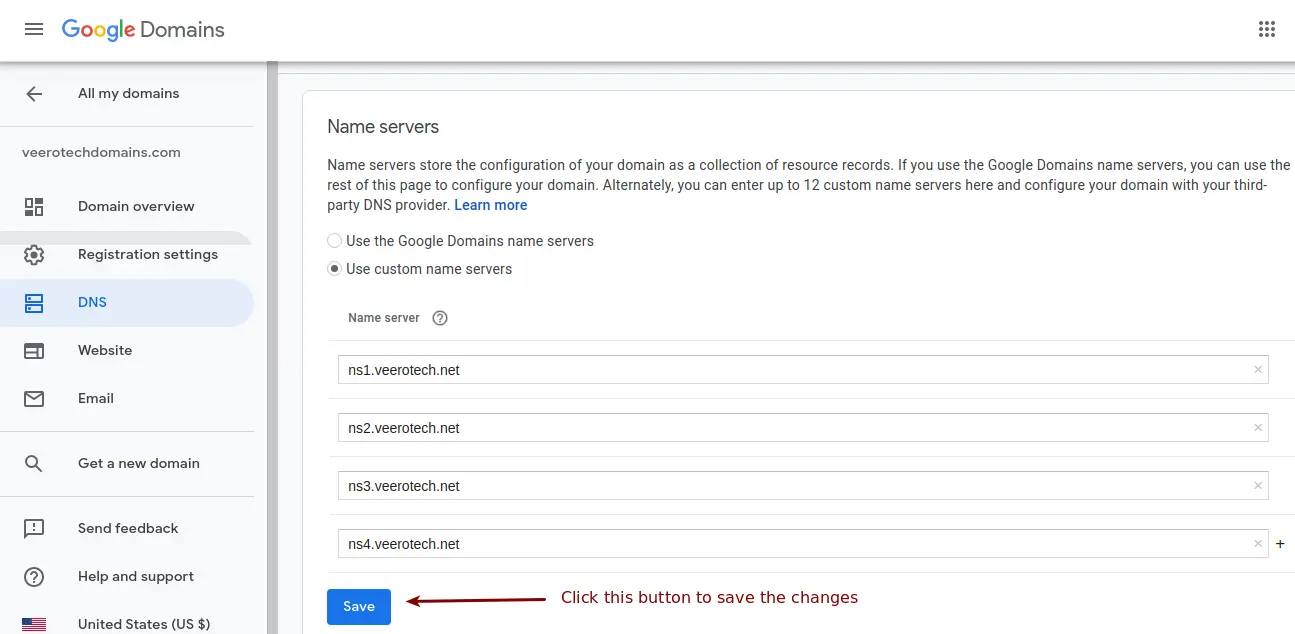
Step 7 : Once all the name servers are added, click “Save” to save the changes.
That’s all. Once the changes are saved, they may take effect within the next 48 hours and the domain will start resolving to our servers and website or files will be available in the browser.
If you have any web hosting questions please feel free to reach out to us. We're happy to help.
Our Guiding Principles