Jetpack is one of the most popular and ultimate toolkit for WordPress. It gives you everything you need to design, secure, and grow your site in one bundle.
With the help of Jetpack, you can fully customize your site with free themes, image tools, Increase your traffic through automatic social sharing, related content, and faster load times. It also provides you a safer, stronger site via secure logins and protection from brute force attacks. All these core features are free. Advanced features like daily backups, spam protection, and SEO tools can be added to paid plans.
You can install the Jetpack plugin to your website using two methods. Let us see how.
First Method
Follow the steps below to see how you can install the Jetpack plugin quickly and easily from within your WordPress Dashboard:
Step 1: Log into your WordPress Dashboard.
Step 2: Hover over Plugins and select Add New.
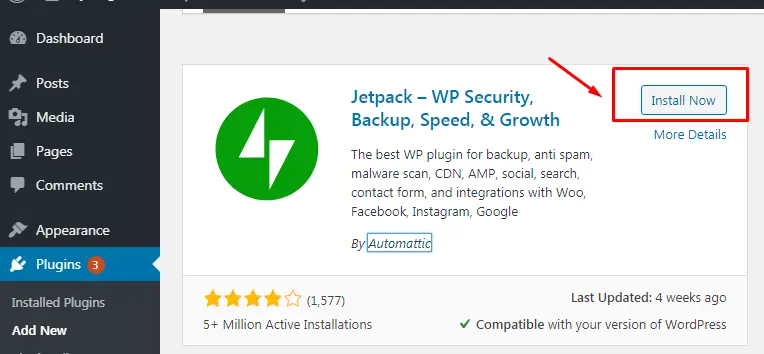
Step 3: Use the search bar at the top right. The latest version will be in the search results. Click the Install Now button.
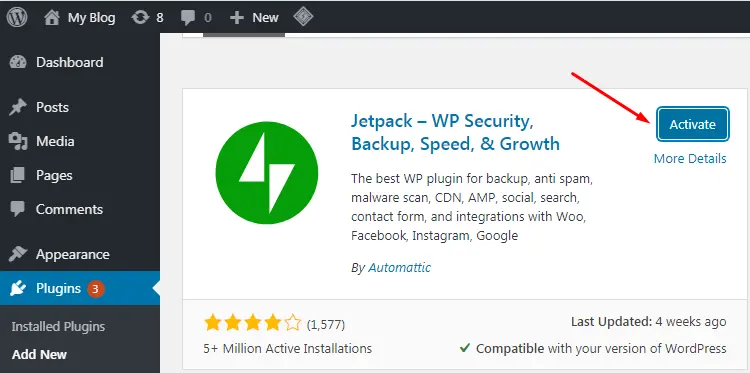
Step 4: Next, click the Activate button.
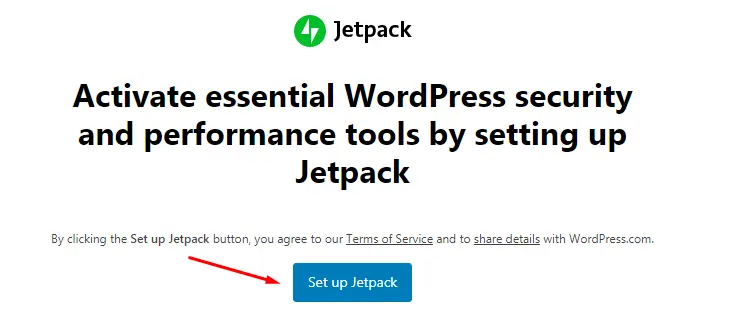
Step 5: After activating, you will be prompted to set up Jetpack.
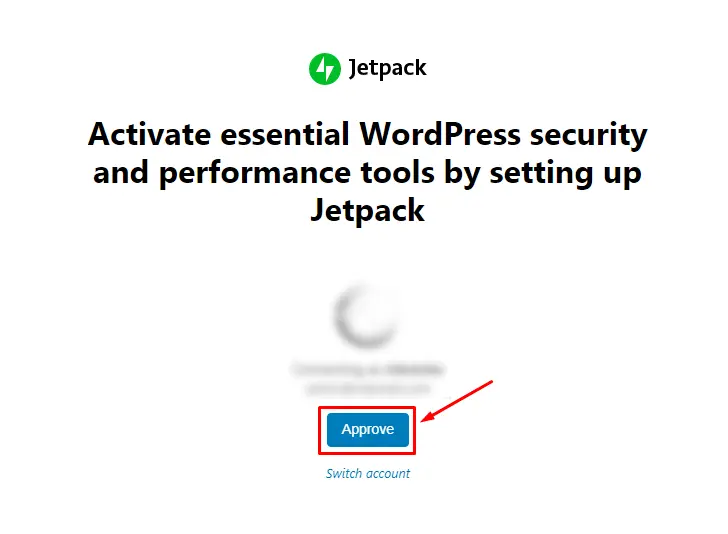
Step 6: Next, approve the connection to WordPress.com.
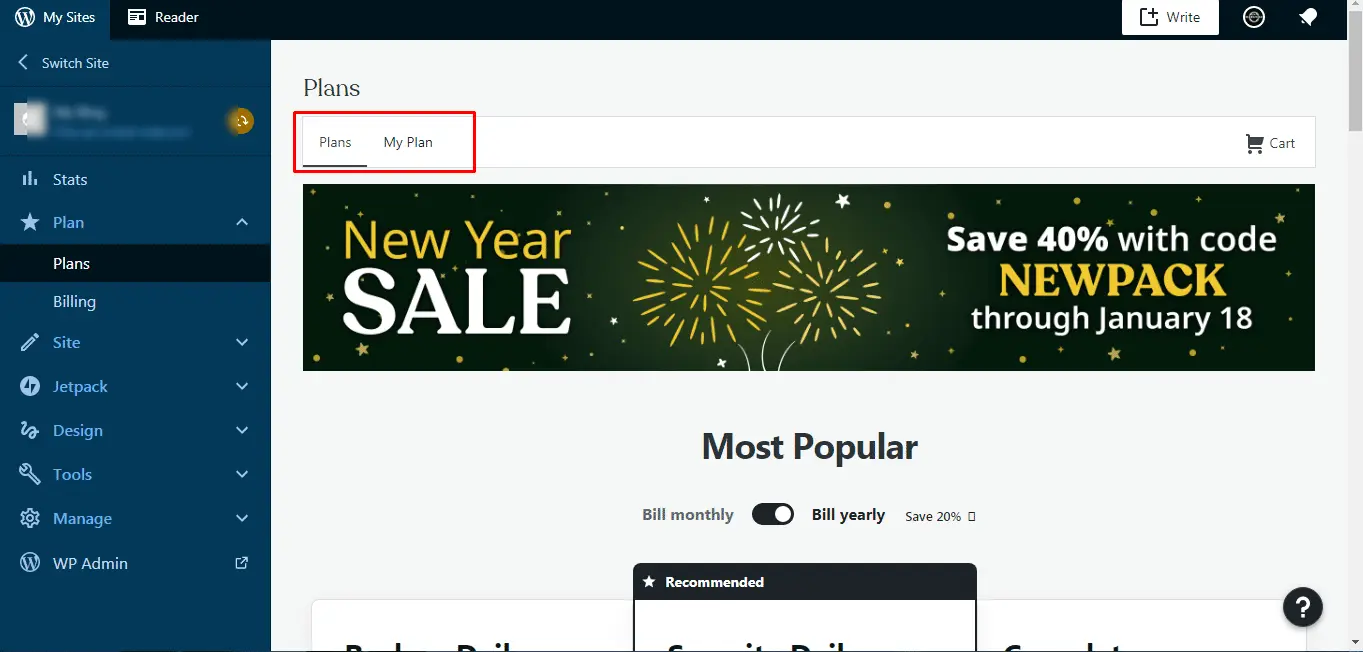
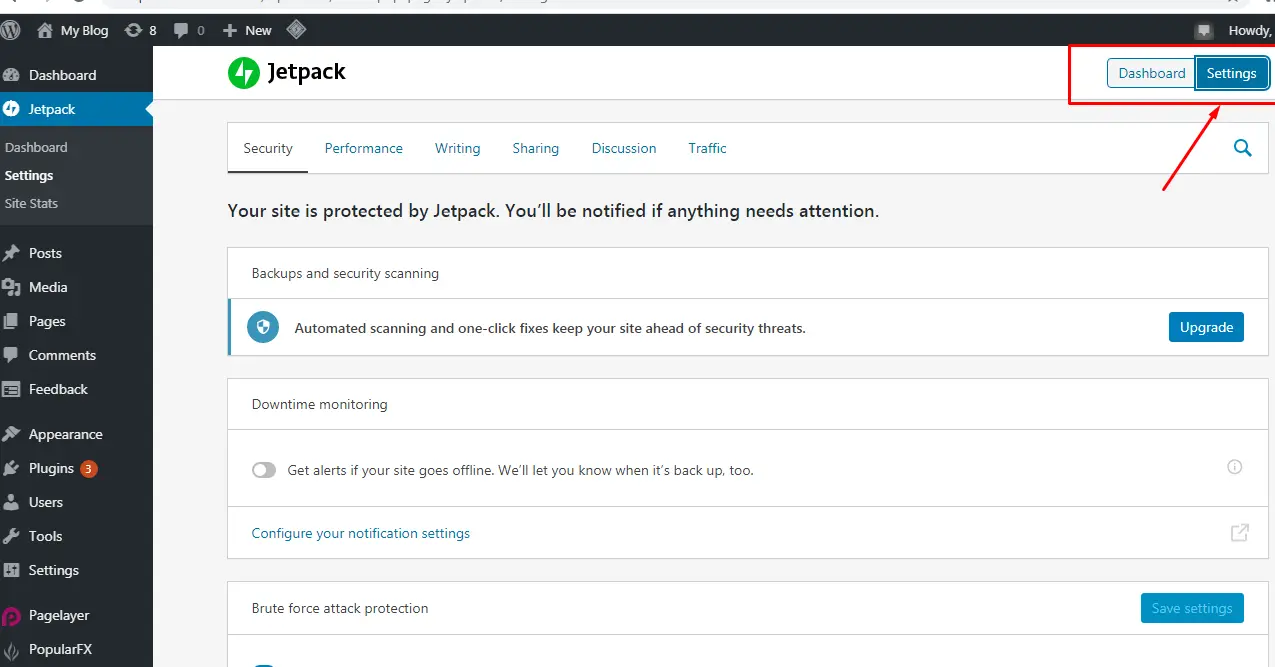
Once approved you can choose a Jetpack plan or choose the “Start with free” option at the bottom of the page. After successfully connecting to your WordPress.com account, most of the Jetpack features are automatically activated. If you want to modify this default configuration, navigate to Jetpack > Settings in your site’s WP Admin.
Second Method
Automatic Installation with a Jetpack Plan Purchase
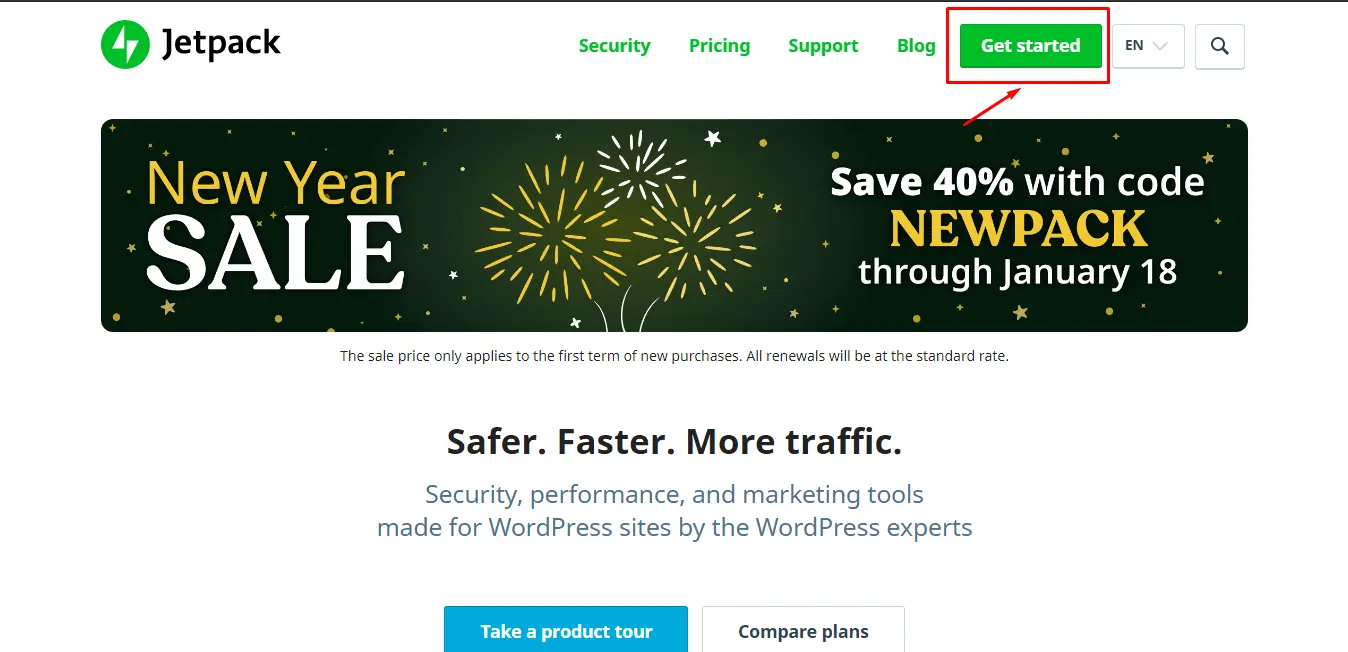
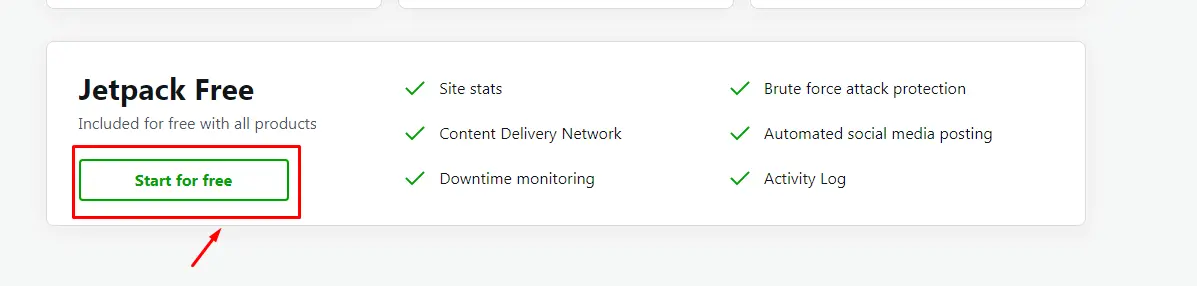
Step 1: Go to jetpack.com click on Get started and select a plan. Here we select Jetpack Free.
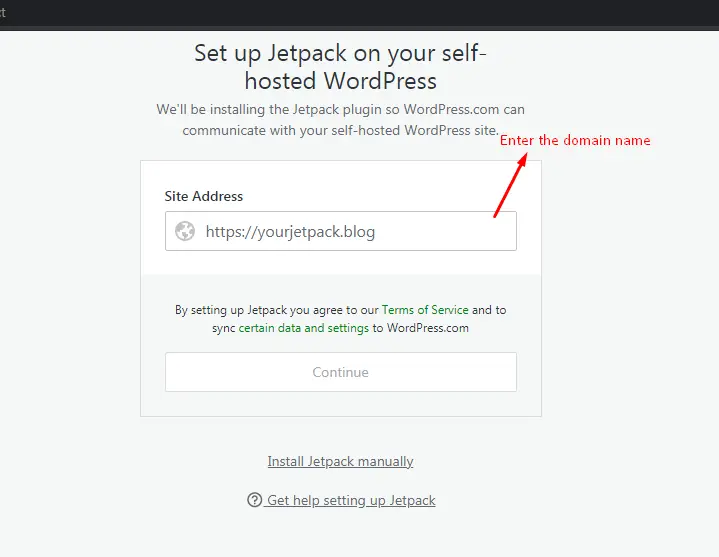
Step 2: Enter your site URL (e.g. https://domainname.com) and click Continue.
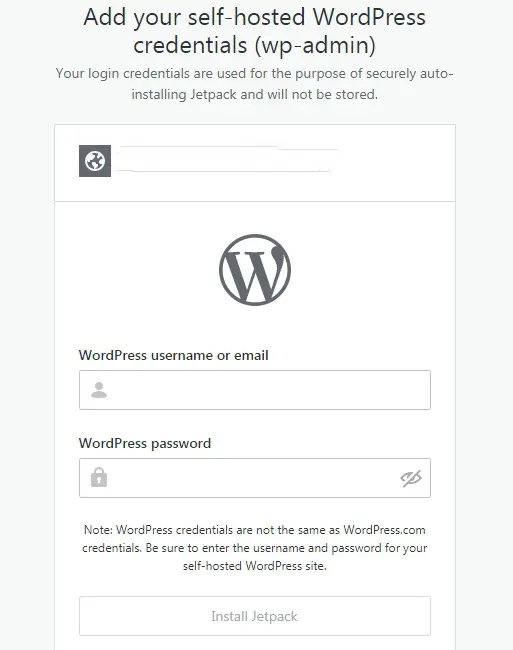
Step 3: Enter your WordPress Administrator credentials for your site. These credentials are not stored and are used only to install Jetpack securely. Be sure to add the credentials for the WP Admin user account that you plan to connect to Jetpack.
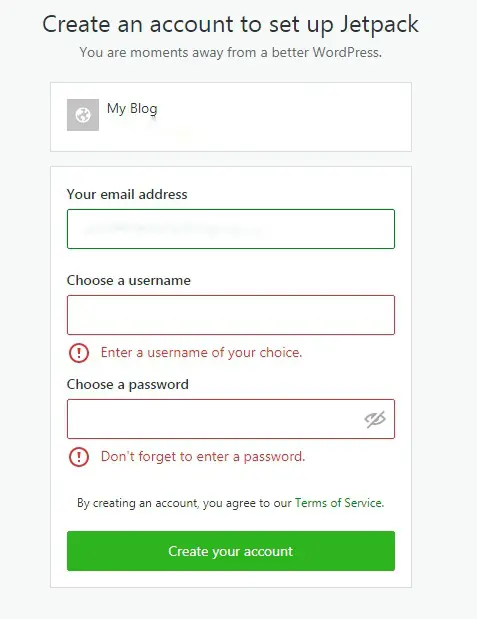
Step 4: Create an account to set up Jetpack.
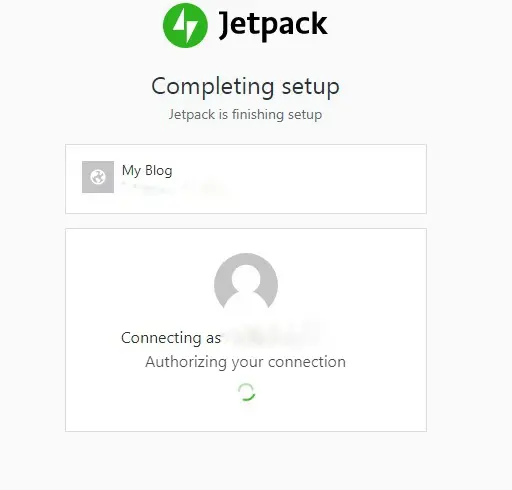
Step 5: You can enable recommended features in the Setup Checklist that follows, or you can manage them later.
Step 6: Click Return to WP Admin Dashboard.
Conclusion
You have now successfully learned how to install the Jetpack plugin on a WordPress website. This is one of the best plugins to cater to commonly required features and functions such as security, backups, CDNs and performance, list building, marketing, and many other essentials. It’s very easy to use and a fully professional support team.
If you have any web hosting questions please feel free to reach out to us. We're happy to help.
Our Guiding Principles