Quick Steps
- Log into your cPanel hosting account.
- Locate and click on the “Cron Jobs” icon under the “Advanced” category.
- Fill in the required information and click “Add new cron job”

Cron is a utility service in Linux servers which can schedule a command or script on your account to run automatically at a fixed time, dates or intervals. Cron jobs can be very useful to automate repetitive tasks. Many automated web applications perform tasks based off of cron jobs. To create a cron job in cPanel, you can follow the steps below.
First, log in to your cPanel hosting account. Click “Cron Jobs” icon under the “Advanced” category. In the following cron jobs page, we can add the scheduled tasks.
We need to specify an email to sent the output/notifications of the cron jobs. Under Cron Email section, type the e-mail address that you want to receive the notifications, and then click Update Email.
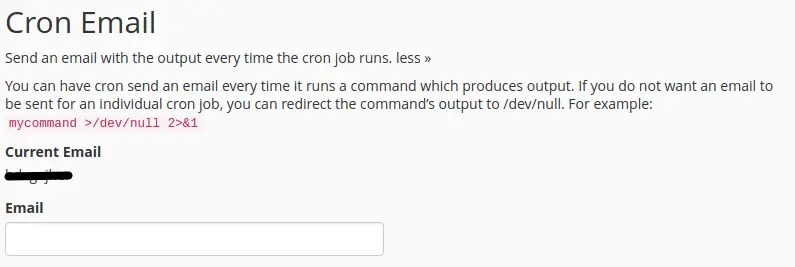
setting up an email ID to which the cron notifications should be sent
By default, it is sent to the default email account that is created by the cPanel at the time of account creation in the server. Every time the cron job runs, the e-mail account will receive a message. If you do not want to receive e-mail notifications for any particular cron job, you can add >/dev/null 2>&1 towards the end of the command. This will redirect all output to /dev/null.
The next section is where we add the configuration for the cron job. The intervals for the cron scheduling can be entered in the corresponding boxes shown below.
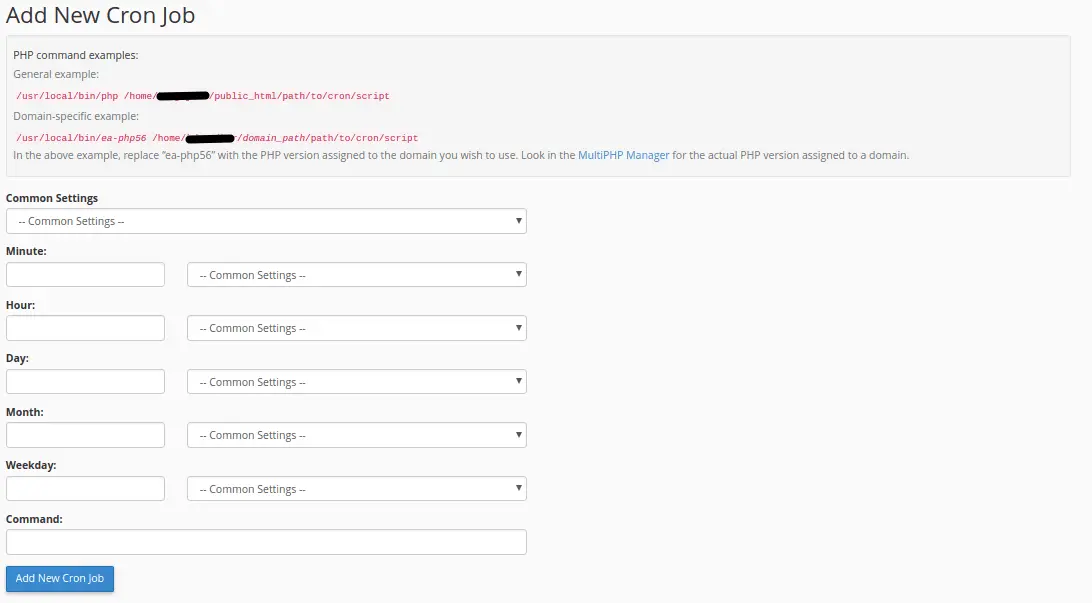
How to add a new cron job in the cPanel
- Common Settings – You can use this drop-down list to populate all but the last fields.
- Minute – The minute setting for the cron job.
- Hour – The hour setting for the cron job.
- Day – The day setting for the cron job.
- Month – The month setting for the cron job.
- Weekday – The weekday setting for the cron job.
- Command – The cron job command to execute. If you want to execute a script, then it would look similar to the command below.
/usr/local/bin/php -q /home/ACCOUNTNAME/public_html/script_in_my_root_directory.php
These commonly used interval options are available in the Common Settings drop down. You can select any of these options and the cPanel will fill the boxes for you. If you require, the values in those fields can be updated manually as well.
The below image shows a sample cron job setup that runs the assigned tasks every 5 minutes.
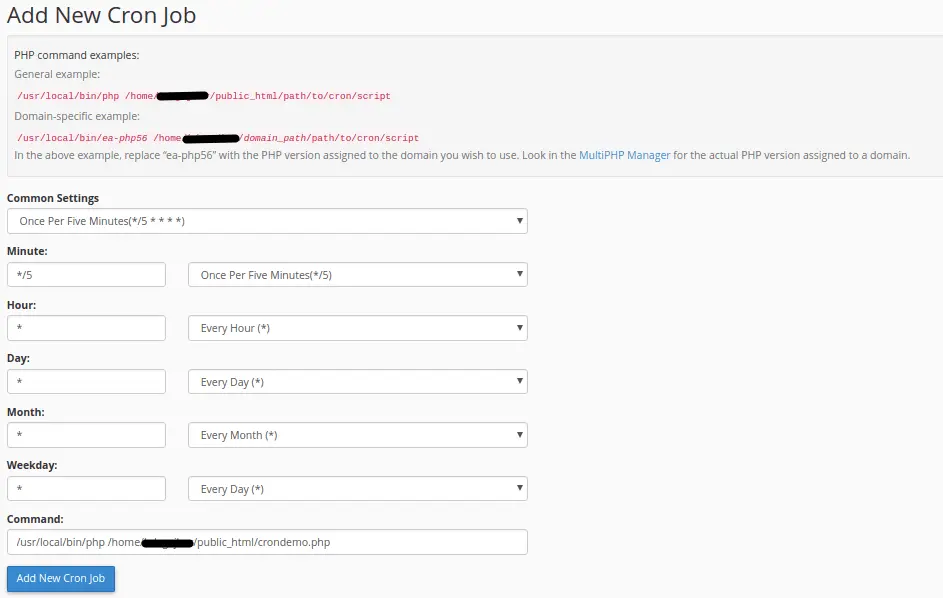
Adding a new cron job in the cPanel
Once the above fields are specified, click “Add New Cron Job”. The newly created cron jobs can be viewed in the “Current Cron Jobs” section. You can also edit or delete the existing crons there.

View current cron jobs in cPanel
The cron jobs will be executed at the specified interval and an email notification will be sent on each run if it’s enabled. If you are not receiving an expected output or script doesn’t run, please double check your path and syntax.
If you still have issues, feel free to contact our support department.
If you have any web hosting questions please feel free to reach out to us. We're happy to help.
Our Guiding Principles