After we have provisioned your SpamExperts bulk account, you can follow this short guide on getting logged in & adding a domain to be filtered.
You can find the control panel URL under your service information or at https://spamlogin.com
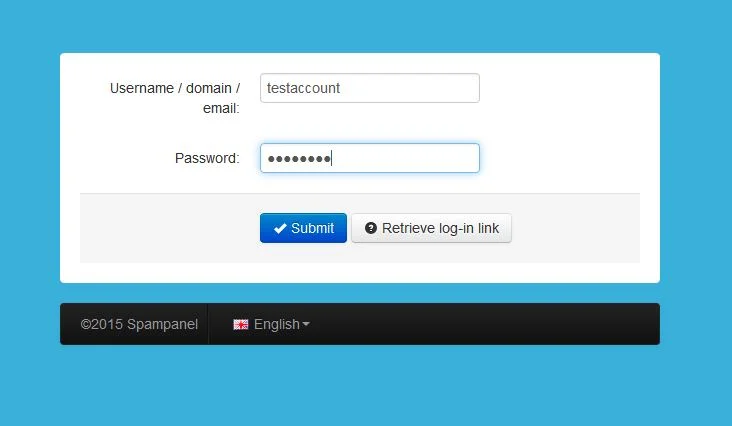
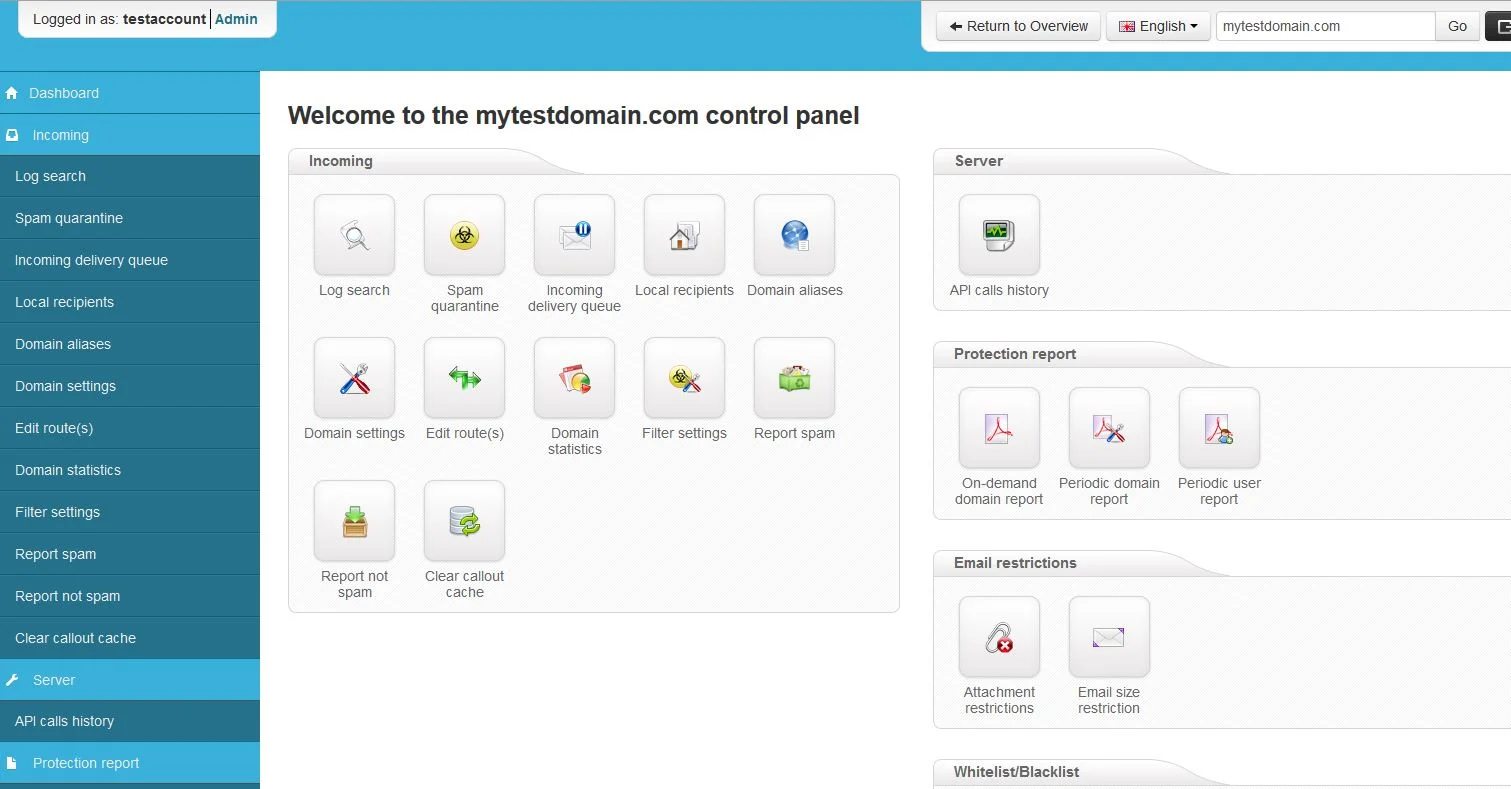
Once you’ve gotten logged in, you’ll be taken to the main dashboard:
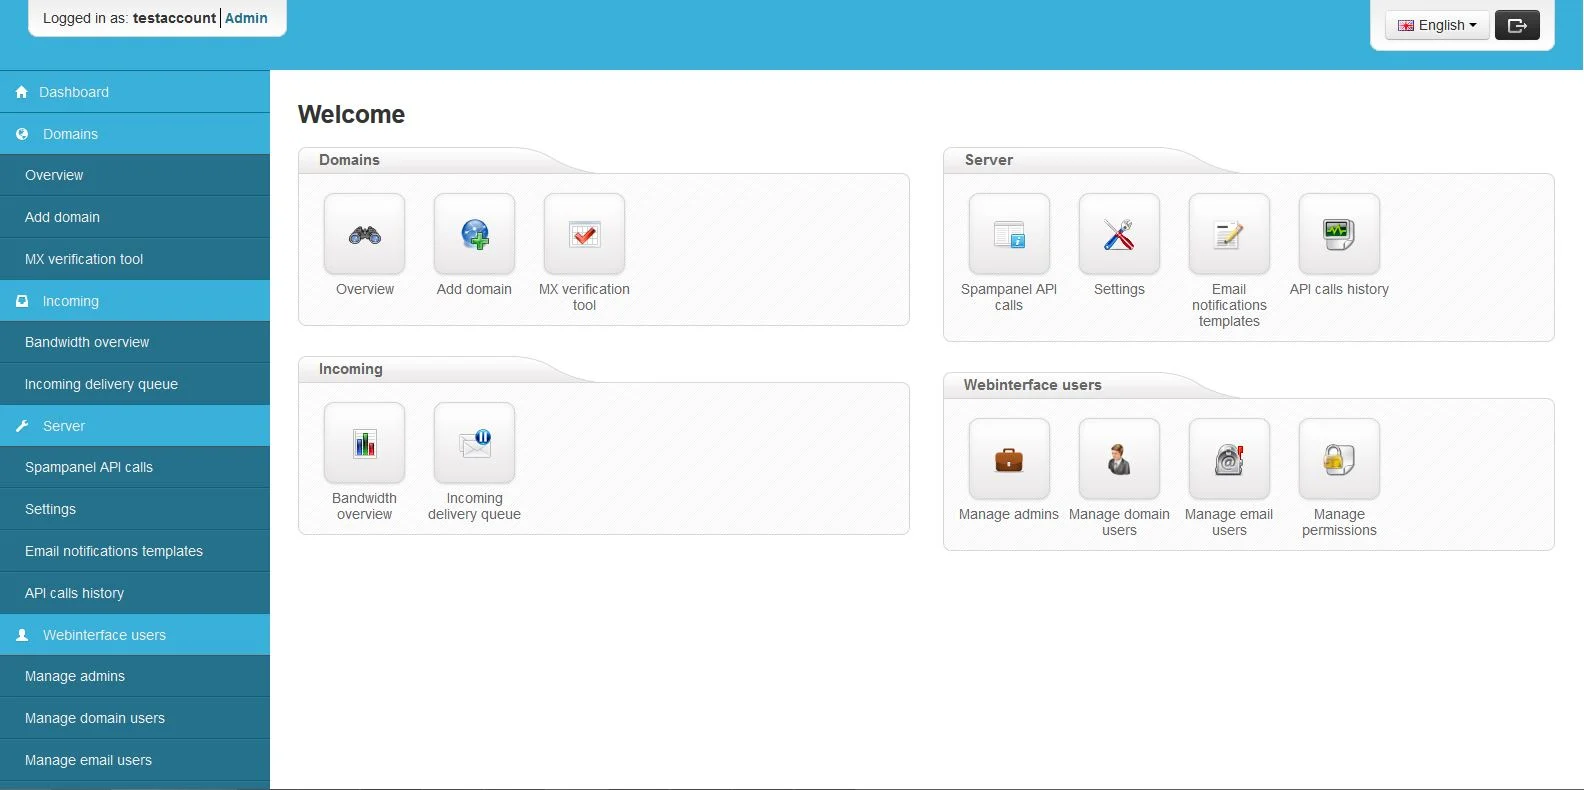
To add a domain, click “Add Domain” under the Domains section.
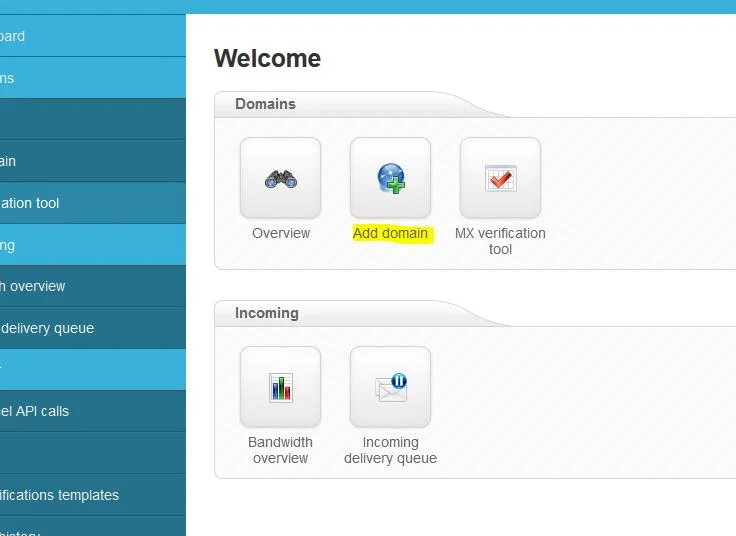
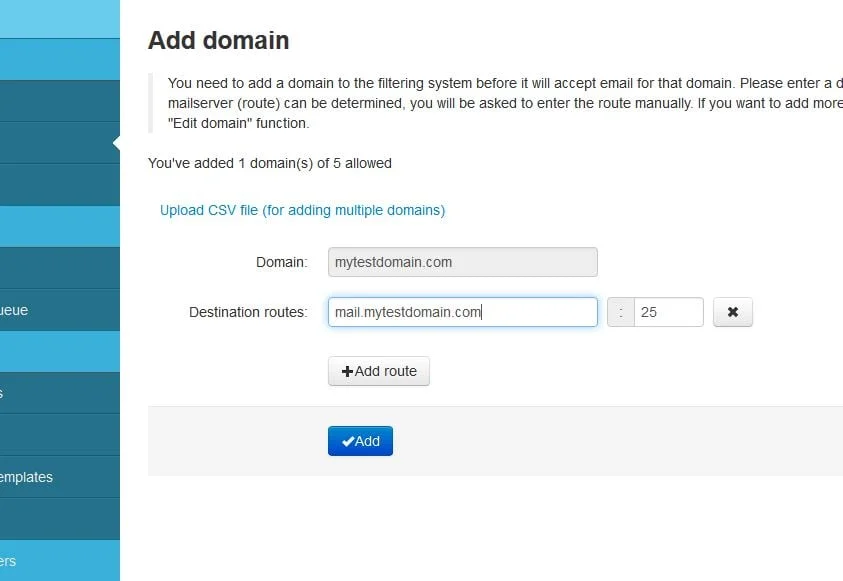
Type your domain into the box & click add.
NOTE: The route will be the email server that your email is currently residing on. In most cases, you will not need to make any changes. The route can be either a DNS entry (such as mail.domain.com) OR a direct IP address. The route must be the location where your email is being hosted at.
Once you’ve added the domain, you’ll be redirected to the Overview section, which will list your active domains.
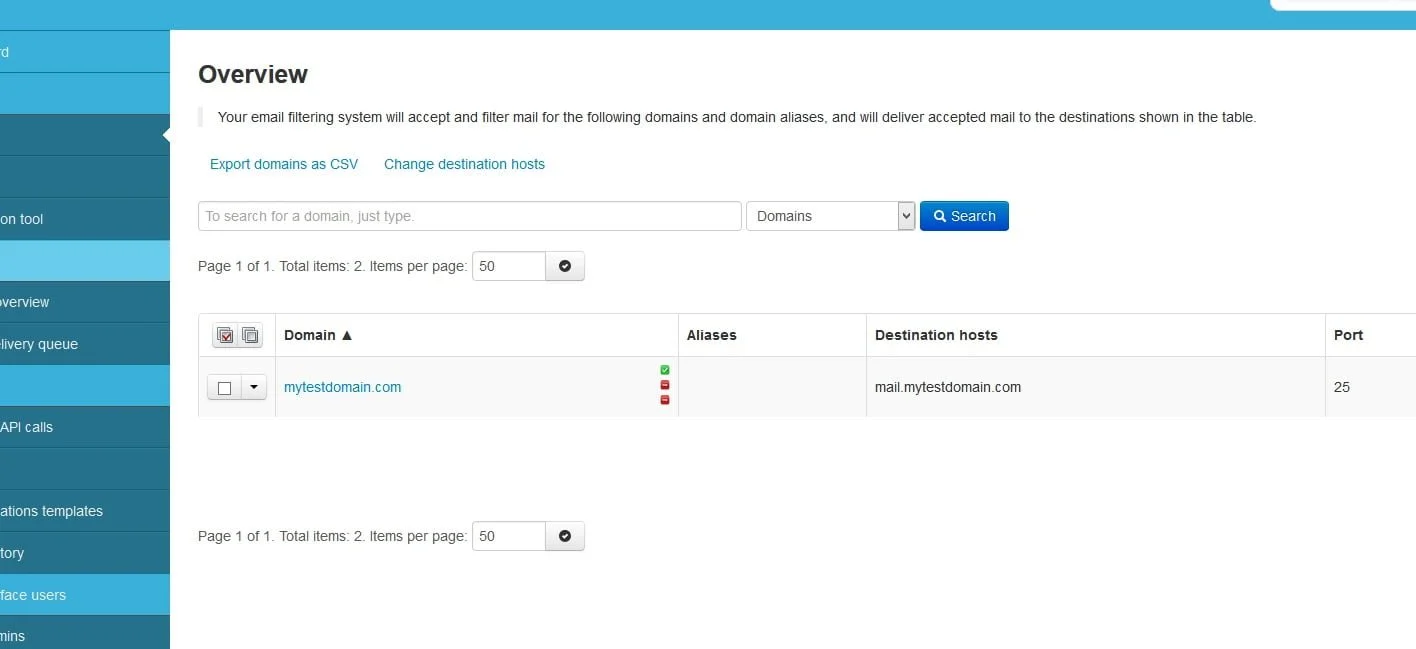
MX Records – once your domain has been added, you’ll need to update the MX records in your web hosting control panel. These can be found in cPanel under the mail section, then “MX Entry” like shown below:
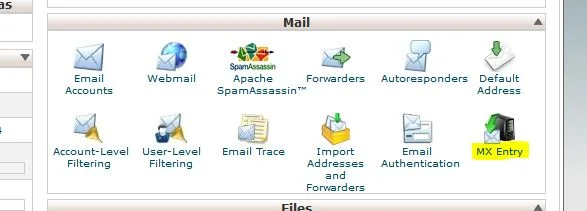
Click the MX Entry icon, and you’ll be taken to the MX Entry Maintenance dashboard within cPanel. Please make note, when using SpamExperts email filtering, you MUST change the “Email Routing” section to Local Mail Exchanger. Choose Local Mail Exchanger, then click the “Change” button:
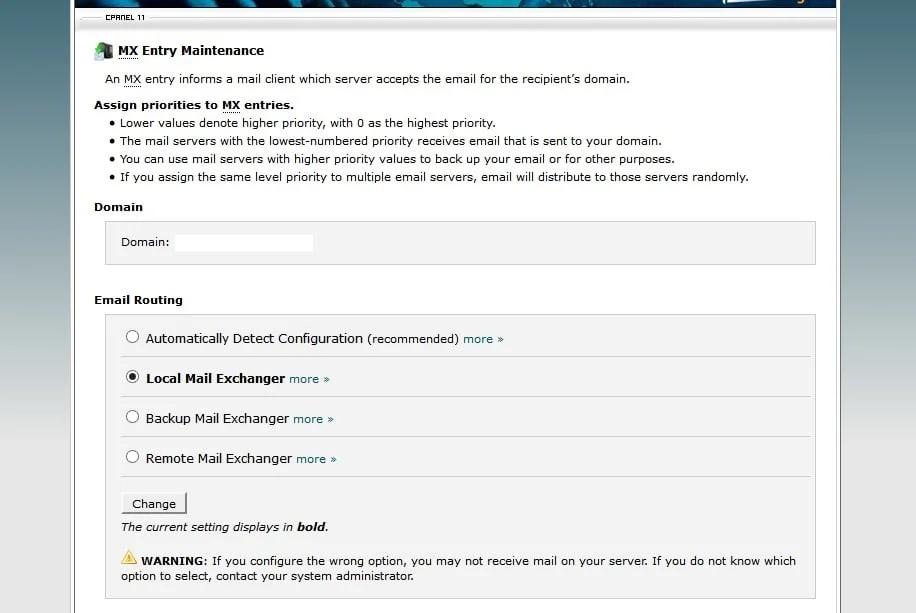
Once you have changed the email routing and clicked “Change” to save the settings, you can move down to the actual MX Records section.
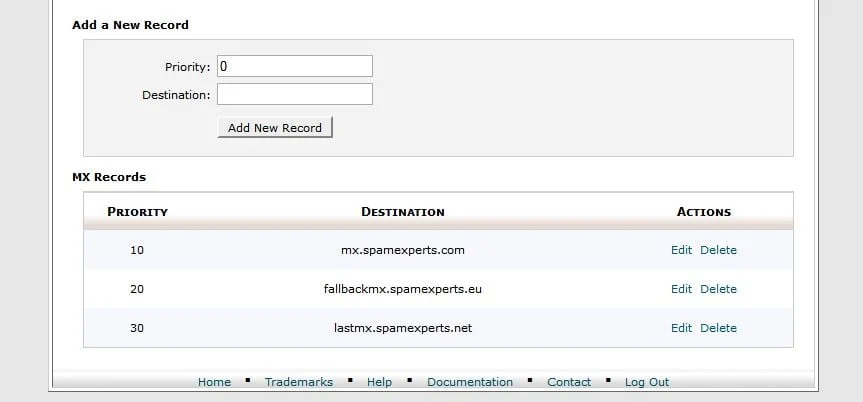
NOTE: You will see a default record that is similar to “yourdomain.com” as the destination & a priority of “0”. You will need to delete this record. Then, you will create 3 new records, using the entries below:
Record 1: mx.spamexperts.com (priority 10)
Record 2: fallbackmx.spamexperts.eu (priority 20)
Record 3: lastmx.spamexperts.net (priority 30)
Your MX records list should now look similar to the image shown below:
Managing a domain
From the domain overview shown above, to manage a domain, you’ll click on the domain to be taken to the domain-level control panel:
From here, you have various options available at the domain level:
- Log searching
- Spam Quarantine
- Delivery Queue
- Filter Settings
- Statistics
- Reports
- Attachment settings / Size Restrictions
- Whitelisting & Blacklisting Options
- User Management
**Please note: If you are using SpamExperts to filter SPAM on your domain, we do not recommend using SpamAssassin in addition as SpamAssassin may end up filtering emails. Please ensure SpamAssassin is disabled when using SpamExperts incoming email filtering.
If you have any web hosting questions please feel free to reach out to us. We're happy to help.
Our Guiding Principles