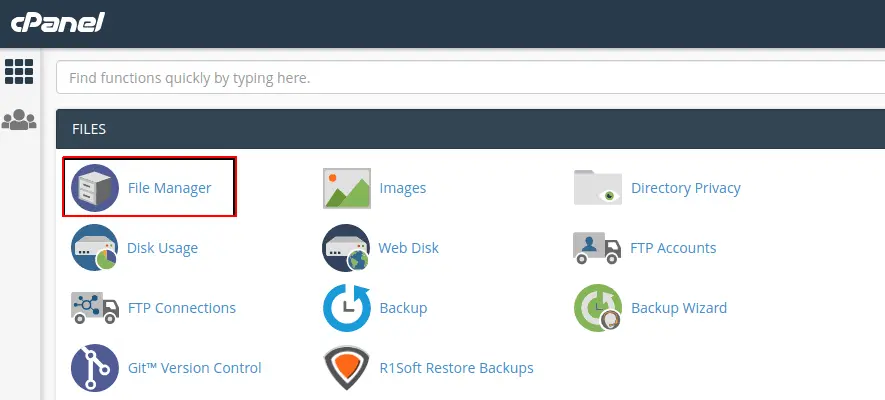
In this guide, we will walk you through the steps for setting up email forwarding to multiple addresses in cPanel.
There are two types of email forwarders that cPanel allows us to create. They are email account forwarders and domain forwarders.
Setting up email forwarders for an email account allows you to send a copy of emails received to another email address automatically. Email forwarders are really helpful in case you have multiple email addresses for your business and need to review all the emails received from a single mail account.
In addition to forwarding individual mail accounts, you can forward all emails from one domain to another. This is the second kind of mail forwarder that the cPanel offers.
Setting up email forwarders can be easily done via the cPanel interface within a few simple steps.
Quick steps:
Create an Email Account Forwarder:
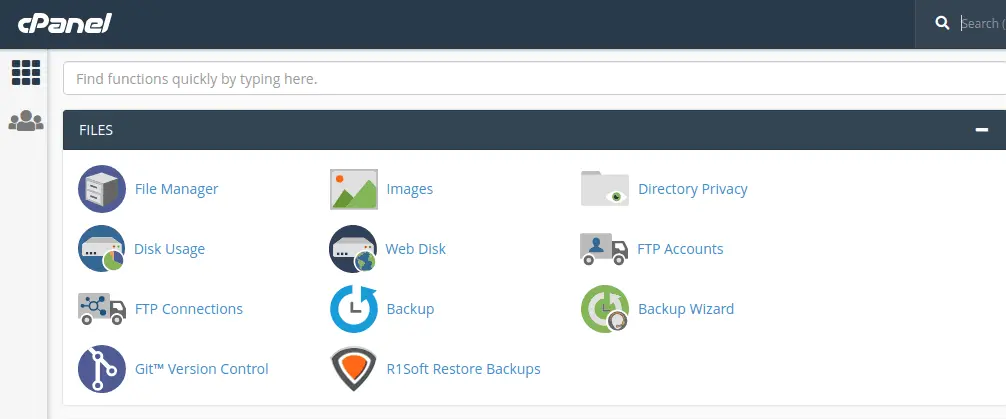
- Login to cPanel and navigate to Email > Forwarders
- On Forwarders, page click Add Forwarder
- On the Add a New Forwarder page, fill in the Address to forwarding, the domain from the dropbox, and the destination mail address.
- Click on Add Forwarder.
Forward All Email for a Domain:
- Login to cPanel and navigate to Email > Forwarders
- On the Forwarders page click Add Domain Forwarder
- Click the drop-down list and select the domain you wish to forward from
- On the blank field type in the destination mail address, you wish to forward the emails to.
- Click Add Domain Forwarder.
Create an Email Account Forwarder
Login to the cPanel account and navigate to Email > Forwarders. Then click on the Add Forwarder button.
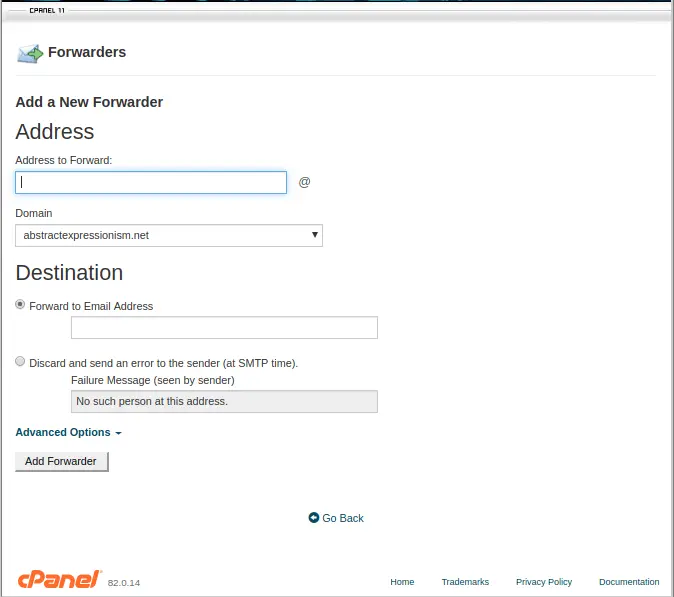
Specify the email account to forward on this page. Select the correct domain from the drop-down in case you have multiple domains and then the destination email address.
Note: If you wish, you can add multiple email addresses to your forwarder, separated by commas, to set forwarders for multiple email addresses.
Then click on Add Forwarder.
Forward All Email for a Domain:
Login to the cPanel account and navigate to Email > Forwarders. Then click on the Add Domain Forwarder button.
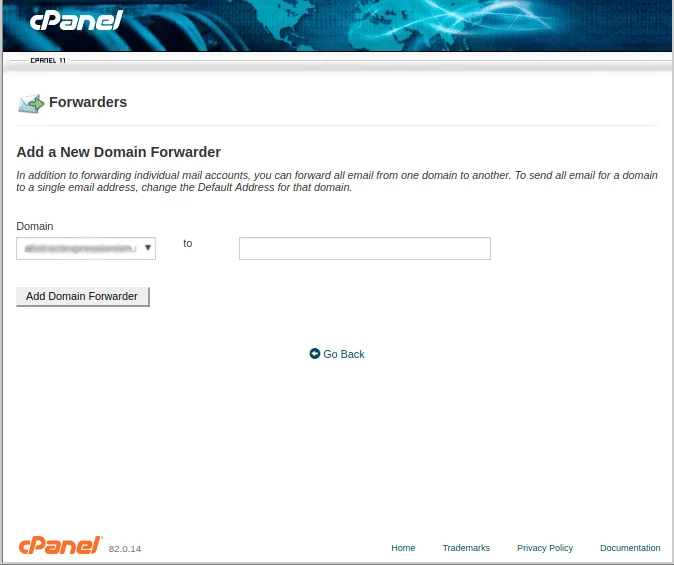
Once you are on the new page, click the drop-down list and select the domain you wish to forward from. Enter the destination email address you wish to forward the emails to. Finally, click on Add Domain Forwarder.
Conclusion
Congratulations! You have learned how to use email forwarders in cPanel. Get started with a blazing fast cPanel Hosting bundled with CloudLinux & LiteSpeed.