Is your website taking too long to load? A slow website not only frustrates users but also hurts your SEO rankings, conversion rates, and bounce rate. The good news is: you don’t always need a developer to fix it.
In this guide, we’ll walk through simple, quick ways to improve your website speed—even if you have little to no technical knowledge.
Why Website Speed Matters
Before diving into the tips, here’s why website performance optimization is critical:
- 53% of visitors leave if a mobile site takes more than 3 seconds to load (Google)
- Page speed is a Google ranking factor
- Faster websites have higher engagement and conversion rates
10 Quick Ways to Speed Up Your Website
1. Optimize Images
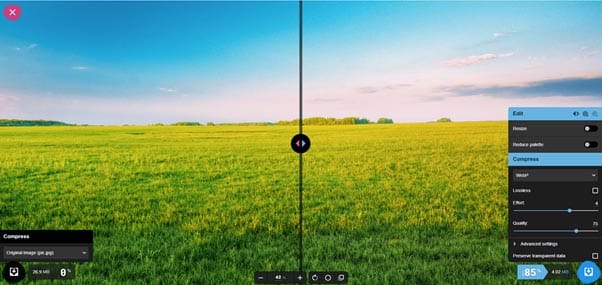
Large image files are one of the most common causes of slow websites. They take time to load, and therefore your site becomes slow.
How to fix it:
- Use tools like TinyPNG, ImageOptim, or Squoosh to compress images
- Convert images to next-gen formats like WebP
- Resize images before uploading—avoid uploading full-resolution photos if not needed
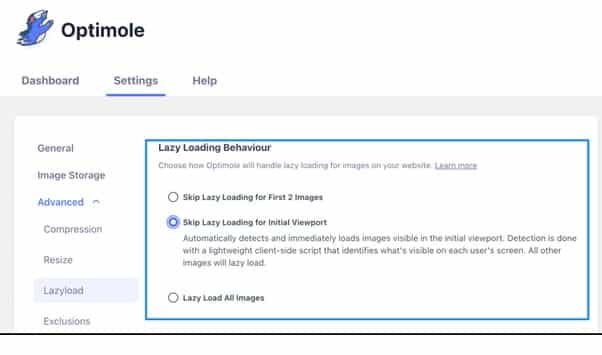
Bonus Tip: Use lazy loading so images load as users scroll down.
2. Use a Fast, Lightweight Theme
If you’re using WordPress or another CMS, your theme can significantly affect speed. Theme functionality, complexity, and dependency on add-ons result in slower speed.
What to do:
- Choose themes optimized for performance (e.g., GeneratePress, Astra, or Neve)
- Avoid themes with too many built-in features or animations
Keyword Tip: Search for fastest WordPress themes for your WordPress website platform.
3. Minimize Plugins and Third-Party Scripts
Too many plugins or embedded scripts (like popups, social feeds, or chatbots) can slow down your site.
Quick fix:
- Deactivate and delete unused plugins
- Replace heavy plugins with lightweight alternatives
- Avoid unnecessary third-party widgets and scripts unless essential
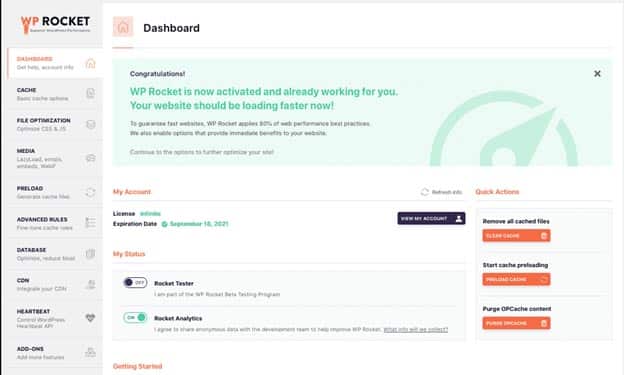
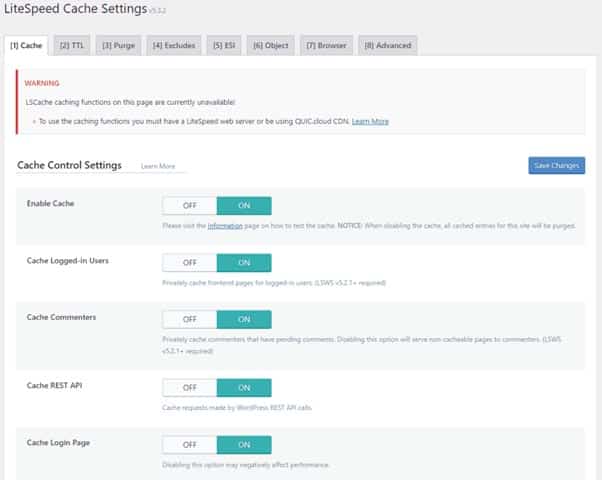
4. Use a Caching Plugin or Built-In Caching
Caching stores copies of your website so pages load faster for returning visitors.
Tools to try:
- WordPress: WP Fastest Cache, W3 Total Cache, or LiteSpeed Cache
- Other platforms may have built-in caching options—check your settings or ask your host
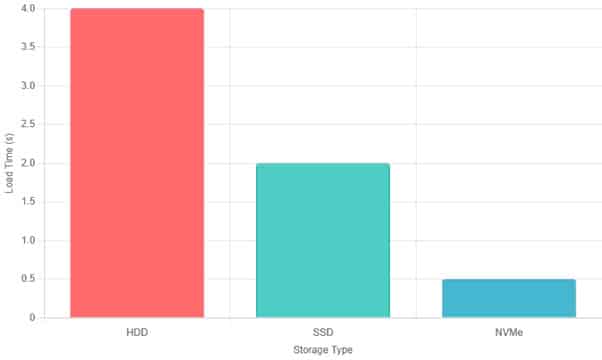
5. Choose a Better Host And Hosting Plan
Your hosting provider plays a big role in your site’s performance. Host location, resource allocation, plans offered, resource capping, etc. can hamper speed. So choosing the right hosting provider and the right plan is important.
Consider:
- Switching from shared hosting to a more powerful plan managed or semi-dedicated hosting
- Using a provider known for quality infrastructure and speed, such as VeeroTech
Tip: Look for hosts with features like SSD storage, server-level caching, and CDN integration.
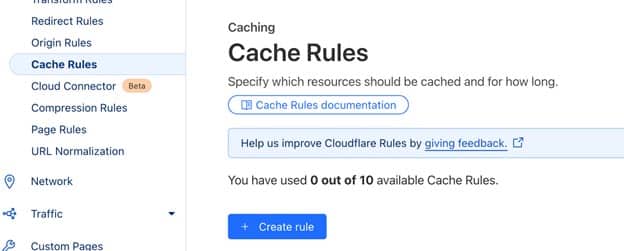
6. Use a Content Delivery Network (CDN)
A CDN saves static resources like images, videos, JS, etc. on multiple geographical locations and delivers your site’s content from servers closer to your visitors, thus speeding up load times.
Free & easy CDNs:
- Cloudflare (simple to set up with most hosting providers)
- BunnyCDN (affordable and effective)
7. Reduce Redirects and Broken Links
Redirect chains and broken links waste loading time and hurt user experience.
Use tools like:
- Screaming Frog SEO Spider (desktop)
- Ahrefs Webmaster Tools
- Broken Link Checker (WordPress plugin)
Fix broken links and limit unnecessary redirects wherever possible to improve load speed and user experience.
8. Clean Up Your Homepage
Your homepage is often the most visited page—make sure it loads quickly.
Steps:
- Remove heavy sliders, autoplay videos, and unnecessary widgets
- Limit blog post excerpts to 5–10 on the homepage
- Use compressed images only
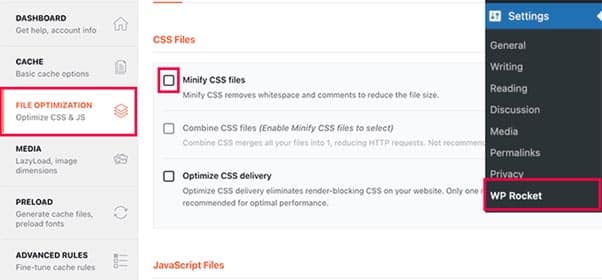
9. Minify CSS, JavaScript, and HTML
Minifying removes unnecessary code and comments, reducing file size, which reduces the file serve time and improves page load speed.
Easiest method:
Use a plugin or tool like:
- LightSpeed Cache or Autoptimize (WordPress)
- Asset CleanUp
- Your CMS’s built-in speed optimization settings
10. Run a Speed Test and Monitor Progress
It’s always a good idea to regularly check your website’s load speed and fine-tune it when something is off.
Use tools like:
- PageSpeed Insights
- GTmetrix
- Pingdom
These will give you a performance score, an issue list with suggested fixes, and an option to track load speed over time.
Final Tip: Speed First, Design Second
It’s tempting to focus on flashy design or extra features—but user experience and speed matter more. Users won’t stick around if the site doesn’t load fast, no matter how good it looks.
Conclusion
You don’t necessarily need to be a developer—or hire one—to speed up your website. With a few smart changes and free tools, you can significantly improve load times, retain more visitors, and even boost your rankings.
Start with image optimization and caching, review your plugins, run regular speed tests, and switch to VeeroTech for a blazing fast hosting experience.