In this article, we will go through the steps included in installing and configuring WordPress heartbeat. The WordPress Heartbeat API allows WordPress to communicate between the web browser and your server. The “heartbeat” feature enables WordPress to monitor user actions and send periodic updates to the webserver. Its also used to save drafts automatically, lock post edits, log out administrators after an idle period, and more.
Quick steps:
- Login to the WordPress admin dashboard.
- Navigate to Plugins > Add New.
- Search for Heartbeat Control, then click on Install.
- Click on Activate.
Log in to your WordPress site as the administrator and, using the left sidebar, navigate to Plugins > Add New.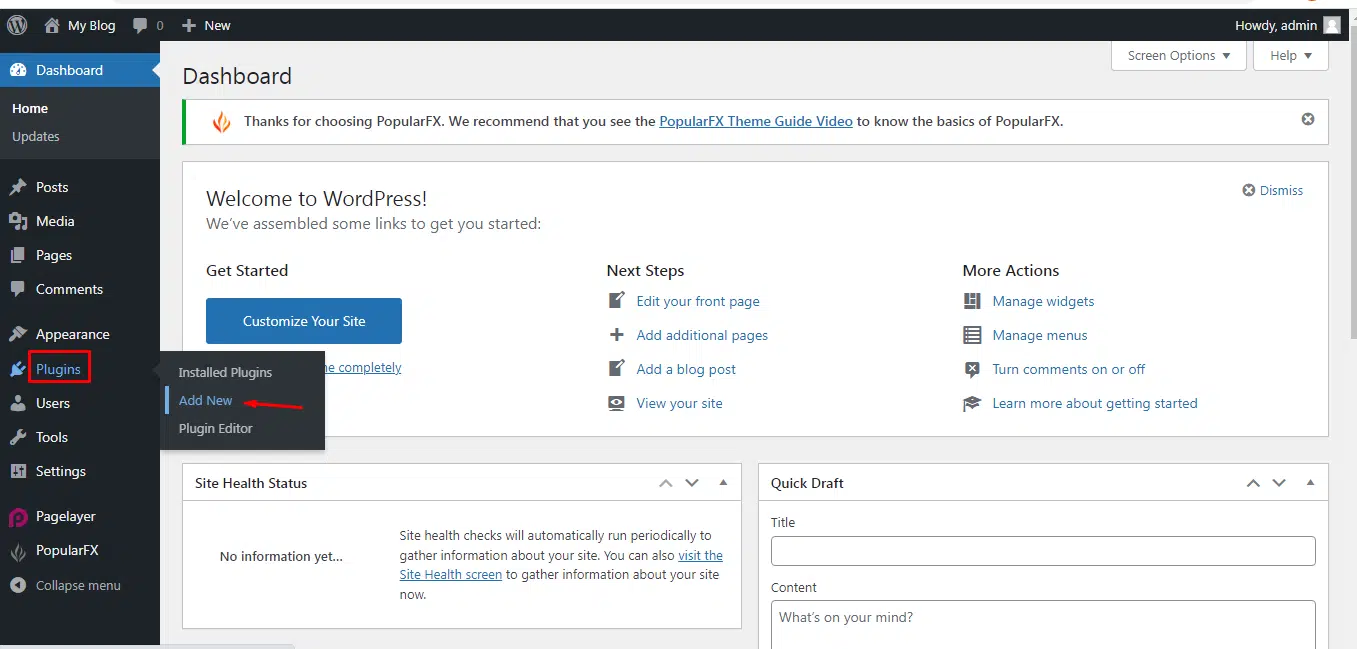
Search for Heartbeat Control, then click on the install button. After WordPress finishes installing the plugin, click Activate Plugin.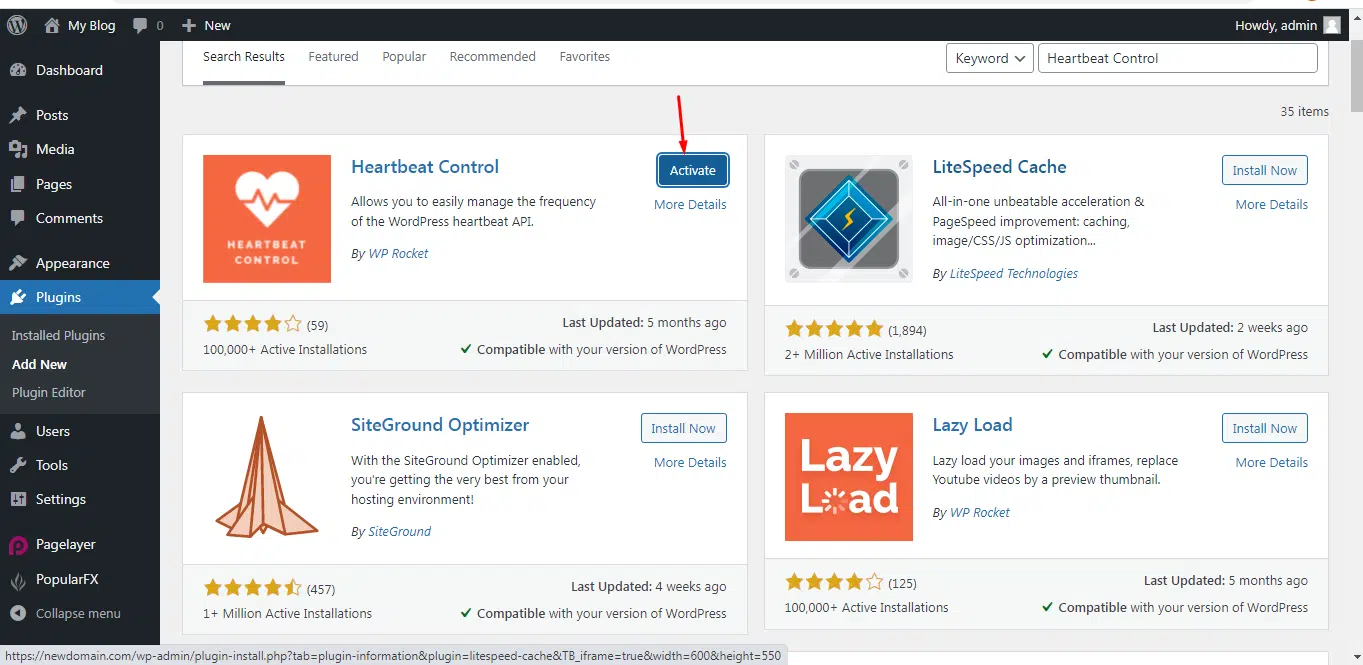
Configuring the Heartbeat Control plugin
Once you install the Heartbeat plugin, you can configure it using the following steps:
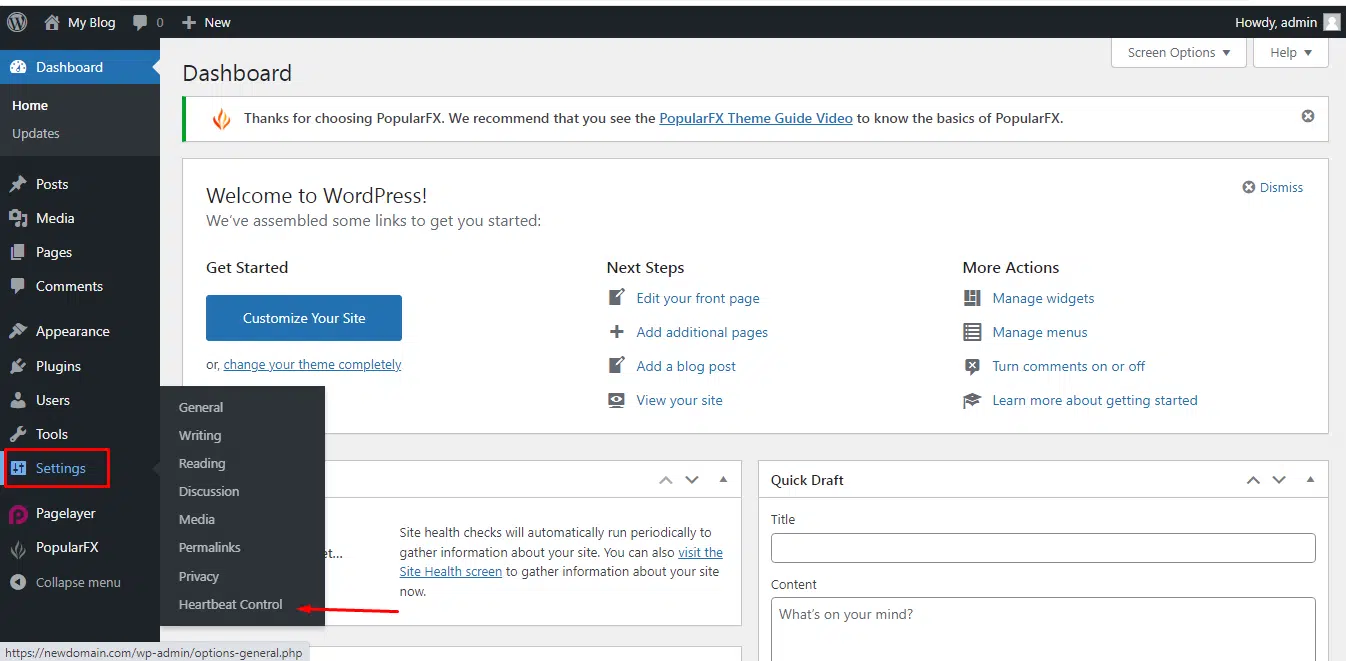
Log in to your WordPress site as the administrator. In the left sidebar, click Settings > Heartbeat Control Settings, to configure the plugin.
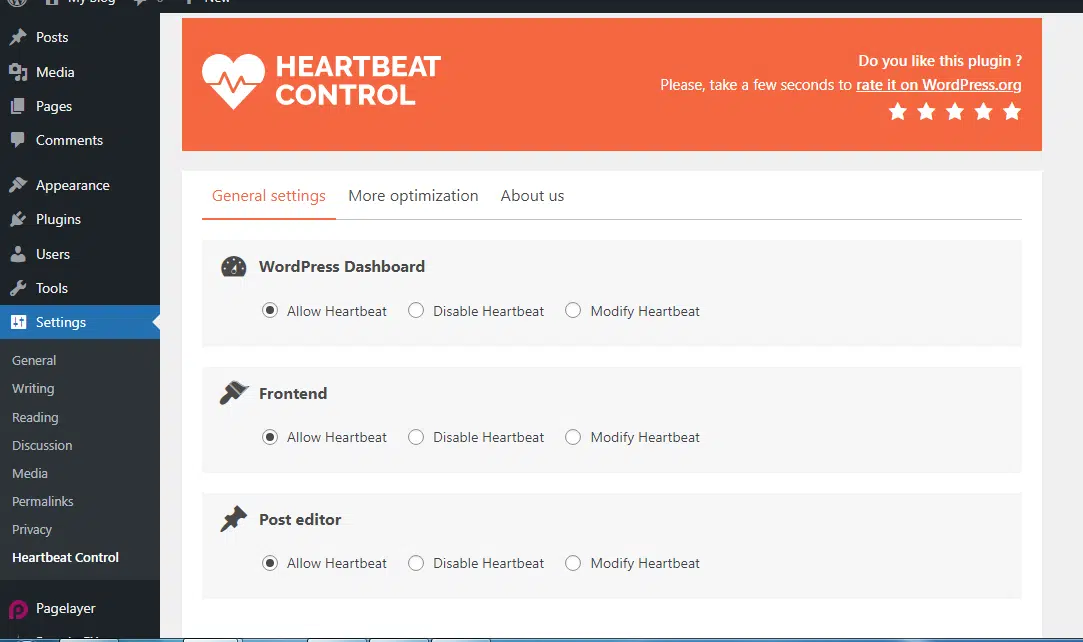
The Heartbeat Control plugin allows you to choose from 3 different settings which will tell the API how to operate depending on your needs:
- Allow
- Disable
- Modify
By default, the plugin is configured to allow the Heartbeat API.
- To disable heartbeat functionality entirely, select Disable everywhere.
- To disable heartbeat functionality on the dashboard, select Disable on the WordPress dashboard page.
- To enable heartbeat functionality only on post edit pages, select Allow only on post edit pages.
The last option is to Modify Heartbeat how the plugin will work. If you often leave your WordPress admin up for long periods of time, especially while writing or editing posts, the repeated POST requests can cause high resource usage. To avoid this, the heartbeat can be modified or even disabled to lower your server resource usage.
We can modify the Heartbeat Control settings to Override Heartbeat frequency with 300 seconds which will delay the Heartbeat API for 5 minutes.
To do that, select the Modify Heartbeat option on all 3 settings.
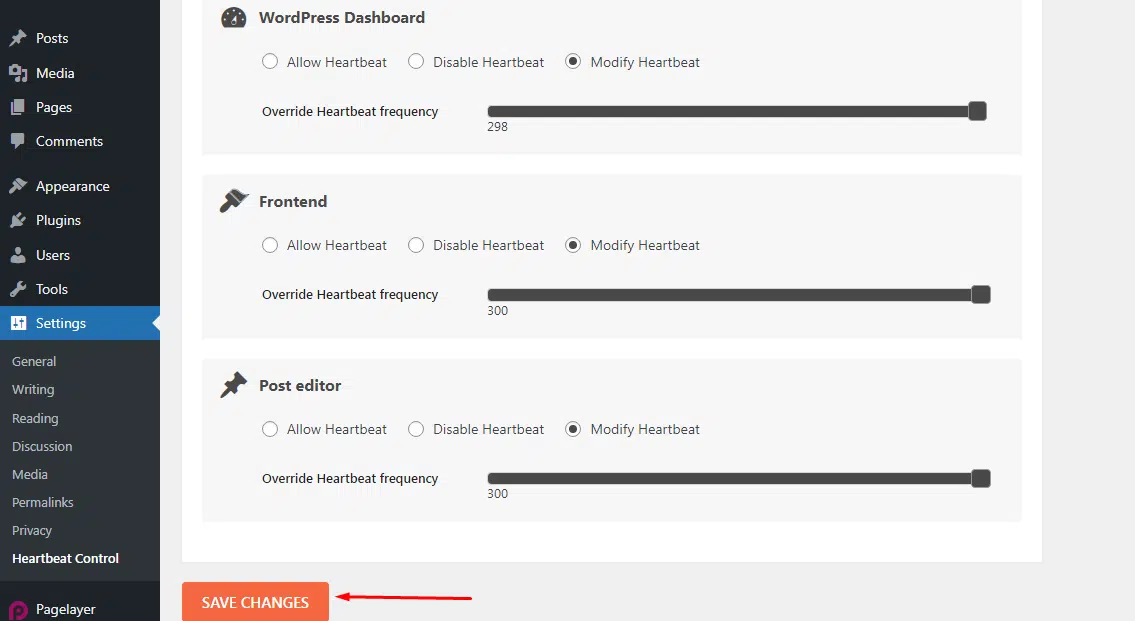
Of course, you can choose smaller values for the override option depending on the resource usage that is being consumed. Once the configuration is applied, you can click Save Changes to complete the configuration or adjust the settings again.
Conclusion:
Congratulations! You have learned how to install and configure WordPress heartbeat.
If you have any web hosting questions please feel free to reach out to us. We're happy to help.
Our Guiding Principles