The first step you’re going to want to do is locate the nameserver IP addresses from our guide located here: Reseller Private Nameservers
In this example, we’ll use the custom nameserver entries of “ns1.yourdomain.com” & “ns2.yourdomain.com” – you will of course, substitute your desired entries & domain name.
Important Note: When configuring your private/custom reseller nameservers, do not use the server’s direct IP – please be sure to use the IP’s that we specify in the our reseller & private/custom nameservers guides.
Choose your private nameserver entries:
Decide on the vanity name you’d like to use for your nameservers. These will be records for an existing domain that you already own. You would typically utilize something along the lines of “ns1.yourdomain.com” & “ns2.yourdomain.com”.
You’ll want to make note of the chosen entries, we recommend keeping them in a spreadsheet so that you have easy access to the information you’ve configured.
IP Address Assignment:
From our guide for Reseller Private Nameservers, you’ll want to choose at least two of the IP addresses we list, we recommend using the first two on the list. From our guide listed above, you’ll make note of your entries like shown below:
ns1 using the IP of 45.76.231.16
ns2 using the IP of 158.69.112.200
ns3 using the IP of 198.251.83.218
ns4 using the IP of 158.69.222.190
Now that you have made note of the proper IP addresses to use for your selected entries, you will need to create two records at your domain registrar. Depending on your registrar, the steps may be different & you may need to contact their support for the correct instructions.
At your registrar, you’ll create a record called a “nameserver record” or “host record” – this term may vary from registrar to registrar as some registrars have different terms for the records in question. Once you have the proper instructions from your registrar, you will create two records – one record will use “ns1” & the corresponding IP & the “ns2” will use the corresponding IP you have chosen.
cPanel A record for each corresponding nameserver:
The next step you will need to do will be to edit your DNS Zone file located on our server. You can do this one of two ways. If you’re familiar with how to do so, you can use the “DNS Zone Editor” to add your two new entries for “ns1” & “ns2”. If you are not, you can simply use the DNS Manager found in cPanel:
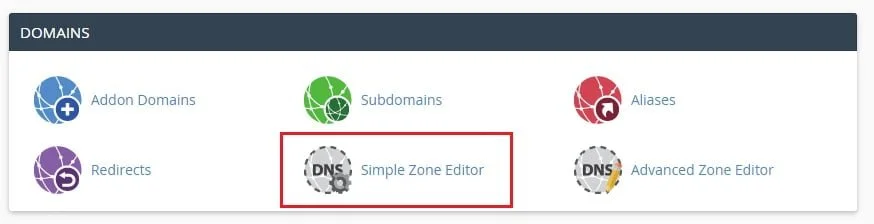
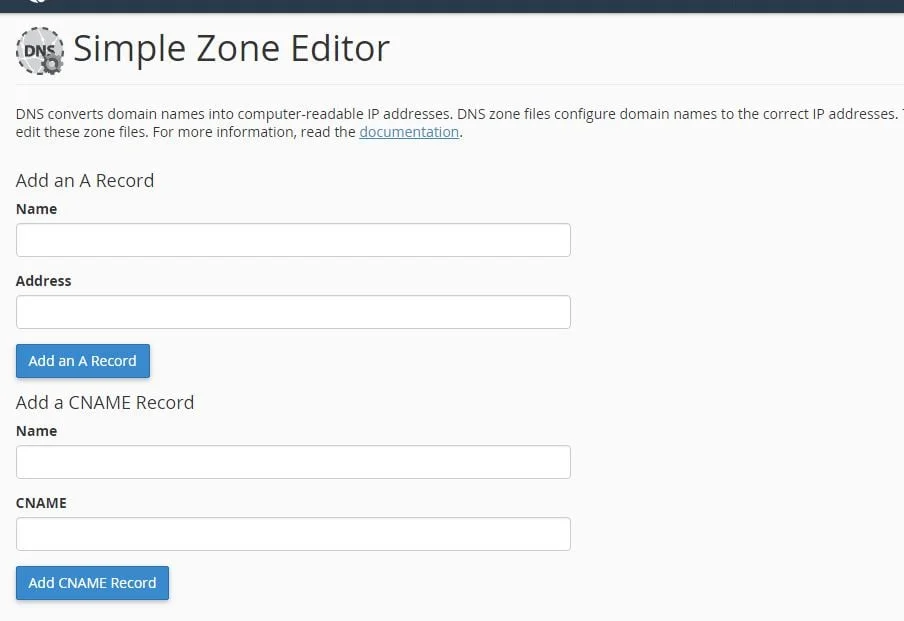
Once you have located the Simple Zone Editor in cPanel, you’ll be using the first option to “Add an A Record“.
You’ll type in the first box titled “Name” your “ns1” entry & then below you’ll type in the IP you have chosen for your “ns1” entry to use. Please note – you only need to type in “ns1” – the field will automatically populate the remainder for the domain.
Now that your fields are completed, simply click the button titled “Add an A Record“.
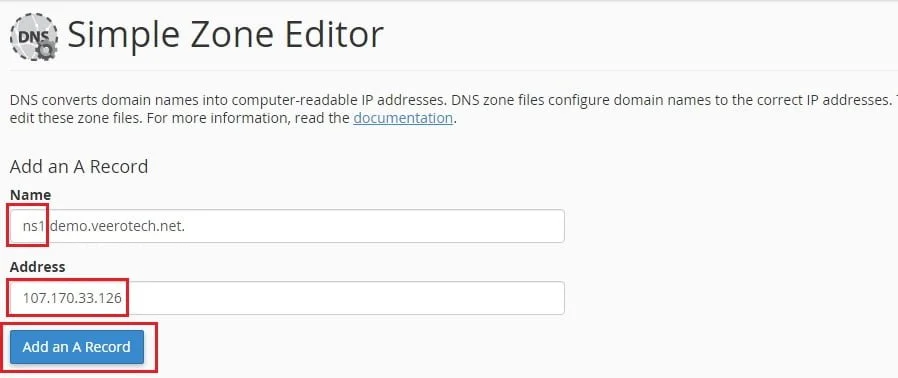
**note: this IP is for display only. Please check our document located at the URL below for the correct IP addresses to use:
You will want to repeat the step above for your remaining nameserver entries. In the event you have any problems or questions, feel free to get in touch with our support department & we’d be happy to assist in the setup and/or checking your private reseller nameservers settings to ensure they’re properly configured.
Important Note: When configuring your private/custom reseller nameservers, do not use the server’s direct IP – please be sure to use the IP’s that we specify in the our reseller & private/custom nameservers guides.
If you have any web hosting questions please feel free to reach out to us. We're happy to help.
Our Guiding Principles