There are times when you may need to temporarily take your WordPress website offline to perform essential background tasks. Whether you are updating core files, swapping out a design theme, or troubleshooting a technical bug, enabling maintenance mode ensures your visitors see a professional notice instead of a broken page or a series of error messages. If you have access to cPanel, you can manage this process effortlessly through the WordPress Toolkit, allowing you to work on your site in a controlled environment without interrupting the user experience.
Quick Steps
-
Log in to your cPanel account.
-
Open the WordPress Management from the Domains or Applications section.
-
Locate your website in the list of installations.
-
Toggle the Maintenance Mode switch to “On.”
-
Alternatively, use a WordPress plugin if the Toolkit is unavailable.
Follow the step-by-step instructions below to manage maintenance mode for your WordPress site.
Method 1: Enable Maintenance Mode Using WordPress Toolkit
The most efficient way to handle site downtime is through the integrated WordPress Toolkit found within your hosting dashboard. Start by logging in to your cPanel account and navigating to the Domains or Packages section to locate the WordPress Management icon. Once the toolkit opens, you will see a comprehensive list of all WordPress installations currently associated with your hosting account.
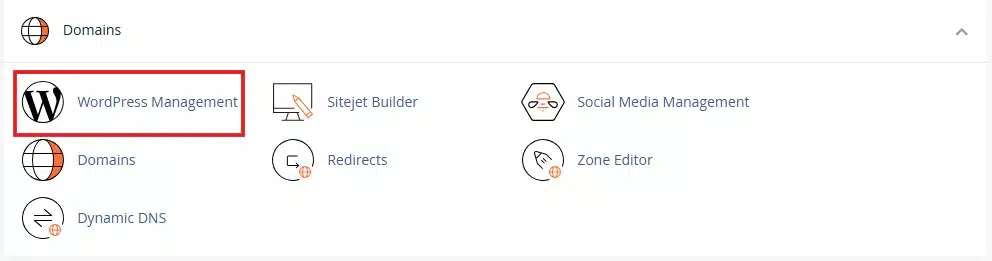
WordPress management in cPanel
Find the specific website you wish to work on and look for the Maintenance Mode toggle button located in the dashboard view for that site. By clicking this toggle to the “On” position, the toolkit immediately replaces your live website with a default maintenance page for all external visitors.
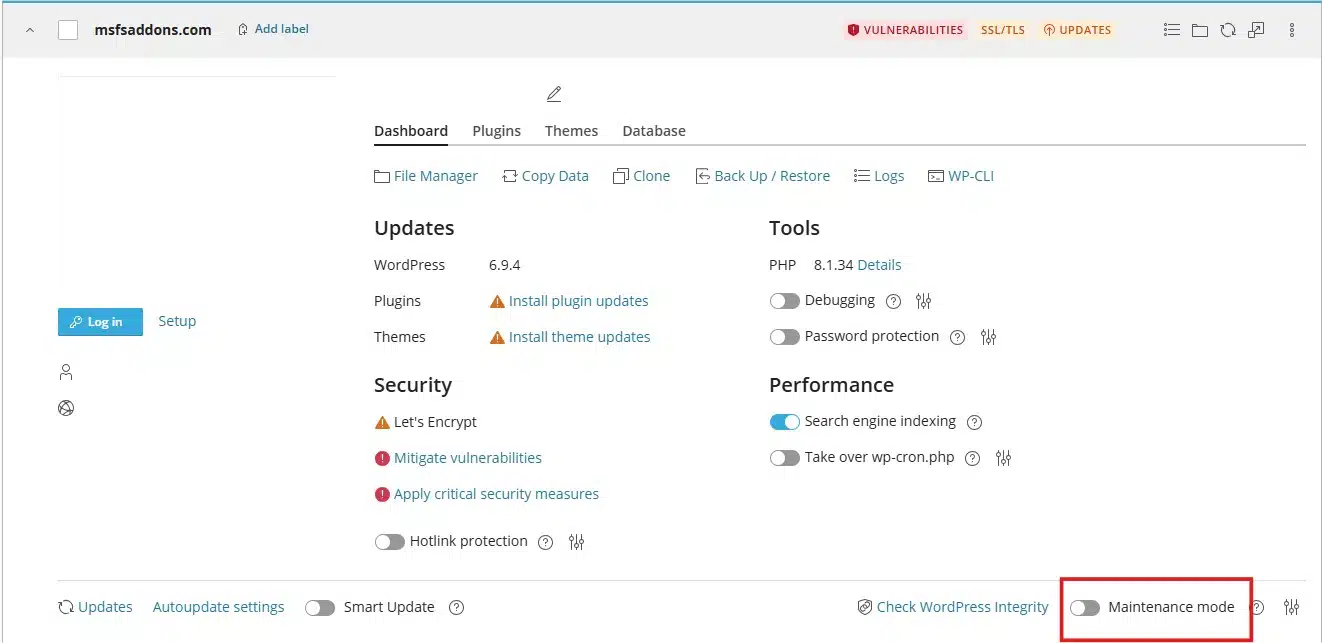
WordPress management in cPanel
You can continue to log in and work on your WordPress dashboard as usual, and once your updates are finished, simply click the same toggle again to push your site back to live status.
Method 2: Alternative Method (If WordPress Toolkit Is Not Available)
If your specific hosting configuration does not include the WordPress Toolkit, you can achieve the same result by using a dedicated maintenance plugin directly within your site. To begin, log in to your WordPress Admin Dashboard and navigate to the Plugins menu, then select Add New. Use the search bar to find highly-rated options such as “WP Maintenance Mode” or “Maintenance.”
After you click Install and Activate on your chosen plugin, navigate to the plugin’s settings page to customize the message your visitors will see. Most plugins allow you to add a countdown timer, contact information, or a custom logo to the splash screen. Once your maintenance window is over, remember to head back into the plugin settings to deactivate the mode so your website becomes fully accessible to the public again.
Pro-Tip: Why Use Maintenance Mode?
It is a technical best practice to enable maintenance mode specifically before updating heavy plugins, themes, or the WordPress core. This prevents “half-loaded” pages from appearing to visitors while files are being overwritten on the server. Because maintenance mode only affects front-end visitors, you maintain full control over the backend without any visual glitches interfering with your workflow.
Wrapping Up
Enabling maintenance mode is a simple but vital step for any website owner. It ensures that your visitors are kept informed during temporary downtime while protecting the professional image of your brand. Whether you use the robust tools in cPanel or a flexible WordPress plugin, you can now manage your site updates with total confidence.
If you have any web hosting questions please feel free to reach out to us. We're happy to help.
Our Guiding Principles